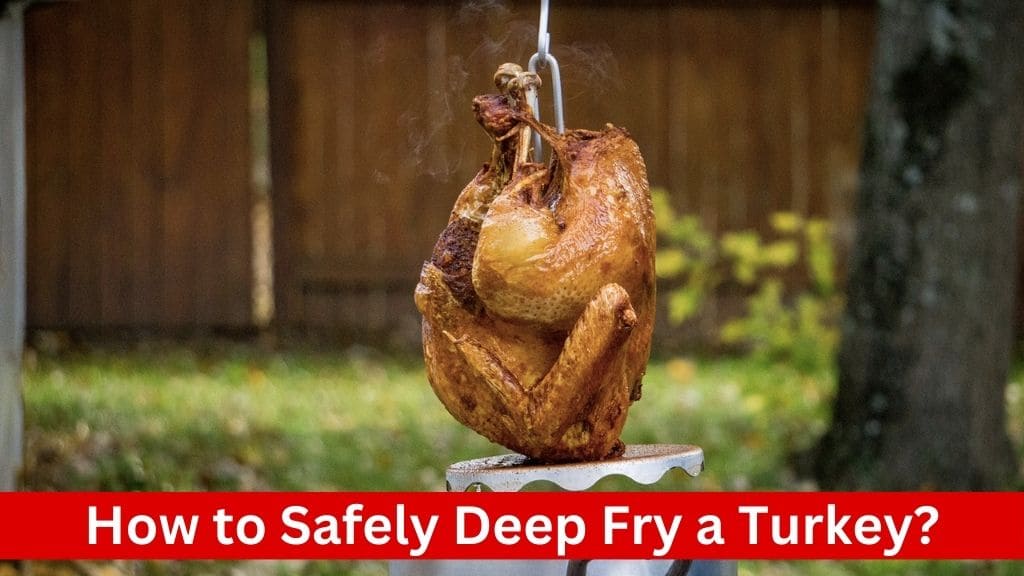
Deep-frying a turkey is a delicious and rewarding culinary experience, but it requires careful attention to safety precautions. In this comprehensive guide, we’ll walk through the step-by-step process of safely deep frying a turkey to perfection.
:max_bytes(150000):strip_icc()/215412-simple-deep-fried-turkey-step-03-3-a669e47c052647809e37016f8f42e1db.jpg)
Deep-fried turkey is known for its juicy meat and crispy skin, making it a popular choice for holiday feasts and special occasions. However, the process of deep frying a turkey involves hot oil and requires careful preparation to avoid accidents. By following the proper safety procedures and techniques, you can enjoy a delicious deep-fried turkey without any mishaps.
Step 1: Preparing Your Equipment

Choosing the Right Location
Selecting an appropriate location for deep-frying is paramount for safety. Here’s what to consider:
- Outdoor Space: Opt for a spacious outdoor area with ample ventilation. This ensures that any fumes or heat generated during the frying process can dissipate safely.
- Level Surface: Choose a level surface such as pavement or asphalt to set up your deep-frying equipment. This prevents any accidental spills or tipping of the fryer.
- Distance from Hazards: Keep the fryer at least 10 feet away from any structures, vehicles, or flammable materials. This minimizes the risk of fire hazards.
- Weather Conditions: Check the weather forecast beforehand and avoid frying in rainy or windy conditions. Moisture can cause hot oil to splatter, while wind can affect the stability of the fryer.
- Avoidance of Sheltered Areas: Never deep-fry under carports, canopies, or any enclosed spaces, even if it’s raining or snowing. This can lead to a buildup of heat and fumes, increasing the risk of fire or carbon monoxide exposure.
Essential Equipment
Here’s a list of essential equipment you’ll need for deep-frying a turkey:
- Large Pot and Fryer Burner: Invest in a sturdy and spacious pot specifically designed for deep frying. Pair it with a reliable fryer burner to ensure even heating and efficient frying.
- Heat-Resistant Gloves: Protect your hands from burns by wearing heat-resistant gloves when handling hot equipment or ingredients.
- Probe Thermometer: A probe thermometer is essential for monitoring the temperature of the oil throughout the frying process. This helps maintain a consistent frying temperature, ensuring optimal results.
- Long-Stemmed Lighter: Use a long-stemmed lighter to ignite the fryer burner safely.
- Baking Sheets or Roasting Pans: Keep baking sheets or roasting pans handy for transferring the turkey to and from the fryer safely.
- Paper Towels: Have plenty of paper towels on hand for drying the turkey and cleaning up any spills or splatters.
- Heavy-Duty Aluminum Roasting Pans: These pans are useful for transporting the raw and cooked turkey, both indoors and outdoors.
- Fire Extinguisher: Always have a fire extinguisher rated for grease fires nearby in case of emergencies. Familiarize yourself with its operation beforehand.
Step 2: Selecting the Oil

Best Oil for Deep Frying
When it comes to deep frying, oils with high smoke points and neutral flavors are ideal. The two most commonly recommended oils for deep-frying turkey are peanut oil and canola oil.
- Peanut Oil: Peanut oil is prized for its high smoke point, which typically ranges between 450°F to 470°F. This means it can withstand the high temperatures required for deep frying without breaking down or producing off-flavors. Additionally, peanut oil imparts a subtle nutty flavor to the turkey, enhancing its overall taste.
- Canola Oil: Canola oil is another excellent choice for deep frying due to its high smoke point, which usually falls between 400°F to 450°F. It has a neutral flavor profile, allowing the natural flavors of the turkey to shine through without any added taste. Canola oil is also widely available and relatively affordable, making it a practical option for frying large quantities of food.
Considerations for Oil Selection
When selecting your frying oil, keep the following considerations in mind:
- Smoke Point: Choose an oil with a smoke point higher than the frying temperature to prevent it from breaking down and producing harmful compounds. Both peanut oil and canola oil have smoke points well above the typical frying temperature of 350°F to 375°F, making them suitable for deep frying.
- Flavor Profile: Consider whether you want the oil to impart any additional flavor to the turkey. While peanut oil adds a subtle nutty taste, canola oil is more neutral and allows the turkey’s natural flavors to come through. Choose based on your preference and dietary restrictions.
- Availability and Affordability: Ensure that the chosen oil is readily available at your local grocery store or specialty food stores. Additionally, consider the cost, especially when frying large quantities of food. Both peanut oil and canola oil are commonly available in bulk sizes, making them cost-effective options for deep frying.
- Storage and Reusability: Properly store any leftover oil in a cool, dark place to prolong its shelf life. Keep in mind that while frying oil can be reused multiple times, it should be strained and filtered between uses to remove any food particles or impurities.
Step 3: Preparing the Turkey
Thawing the Turkey
Thawing the turkey thoroughly is crucial to ensure even cooking and to prevent dangerous oil splatters. Follow these guidelines for safe thawing:
- Refrigerator Thawing: Thaw the turkey in the refrigerator, allowing ample time for the bird to defrost gradually. Plan for approximately 24 hours of thawing time for every 5 pounds of turkey. Place the turkey on a tray or in a pan to catch any drips and prevent cross-contamination.
- Cold Water Thawing: If time is limited, you can speed up the thawing process by submerging the turkey in cold water. Change the water every 30 minutes to ensure it remains cold. Allow 30 minutes of thawing time per pound of turkey using this method.
- Microwave Thawing (Not Recommended): While it’s possible to thaw a turkey in the microwave, it’s not recommended for deep frying due to uneven thawing and potential food safety concerns.
Dry Brining the Turkey
Dry brining involves seasoning the turkey with salt and allowing it to rest in the refrigerator, uncovered, for an extended period. This process enhances the flavor and moisture of the meat while promoting crispy skin. Follow these steps for dry brining:
- Patting the Turkey Dry: Use paper towels to thoroughly pat the turkey dry, both inside and out. Moisture on the surface of the turkey can cause dangerous oil splatters during frying.
- Seasoning with Salt: Generously season the turkey with kosher salt, ensuring that it’s evenly distributed over the entire surface, including the cavity. The salt helps to draw out moisture from the skin and enhances the turkey’s natural flavor.
- Refrigeration: Place the seasoned turkey on a tray or in a roasting pan and refrigerate it, uncovered, for at least 24 hours, preferably up to 48 hours. This allows the salt to penetrate the meat, resulting in a juicier and more flavorful turkey.
- Optional Seasonings: While salt is the primary seasoning used for dry brining, you can also add other herbs, spices, or aromatics to enhance the flavor of the turkey. However, avoid using ingredients that may burn or become bitter during frying.
Preparing for Frying
Before frying the turkey, ensure that it’s at room temperature and properly prepared for the frying process:
- Room Temperature: Remove the turkey from the refrigerator at least 1 hour before frying to allow it to come to room temperature. This ensures more even cooking and reduces the risk of oil splatters.
- Drying the Turkey: Use paper towels to pat the turkey dry once again, removing any excess moisture or salt from the surface. Dry skin promotes crispiness and prevents oil splatters during frying.
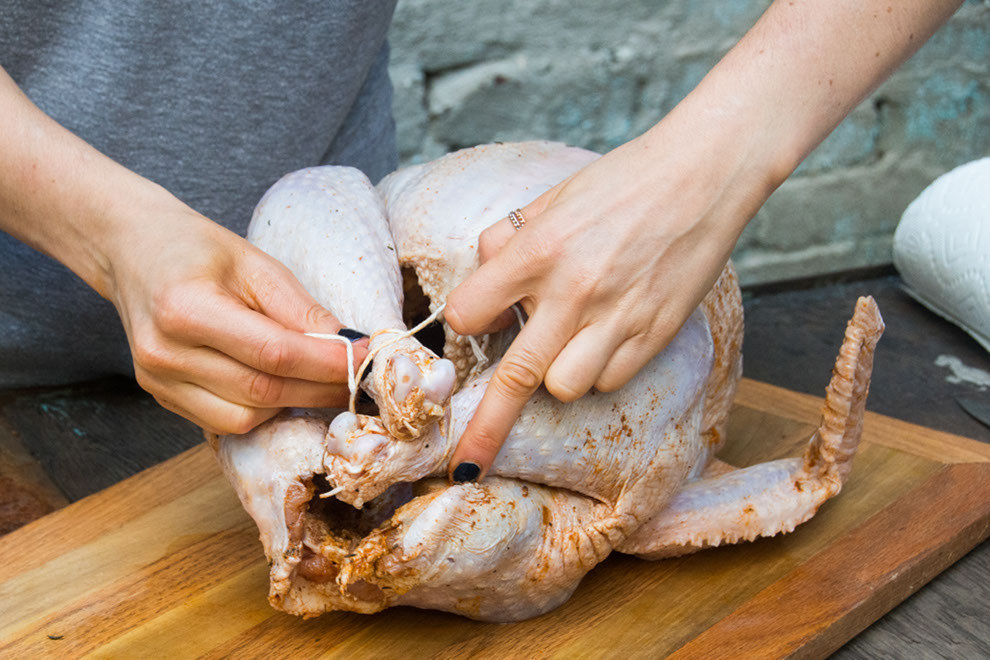
- Securing the Turkey: If desired, you can truss the turkey or secure the legs with kitchen twine to maintain its shape during frying. This helps ensure even cooking and presentation.
Step 4: Safety Precautions
Avoiding Oil Overfill
Overfilling the fryer with oil can lead to dangerous spills and oil fires. Follow these guidelines to avoid oil overfill:
- Correct Pot Size: Use a deep-fry pot that’s large enough to accommodate the turkey without overflowing. A 30 to 34-quart pot is suitable for frying a 12 to 15-pound turkey.
- Water Test: Conduct a water test to determine the correct amount of oil needed. Place the turkey in the empty pot and fill it with water until the turkey is submerged. Mark the water level to indicate the fill line for the oil.
- Thawed and Dry Turkey: Ensure that the turkey is completely thawed and dried before frying to prevent excess moisture from causing oil splatters.
Handling the Turkey Safely
Proper handling of the turkey is essential to prevent accidents and ensure even cooking. Follow these safety precautions when handling the turkey:
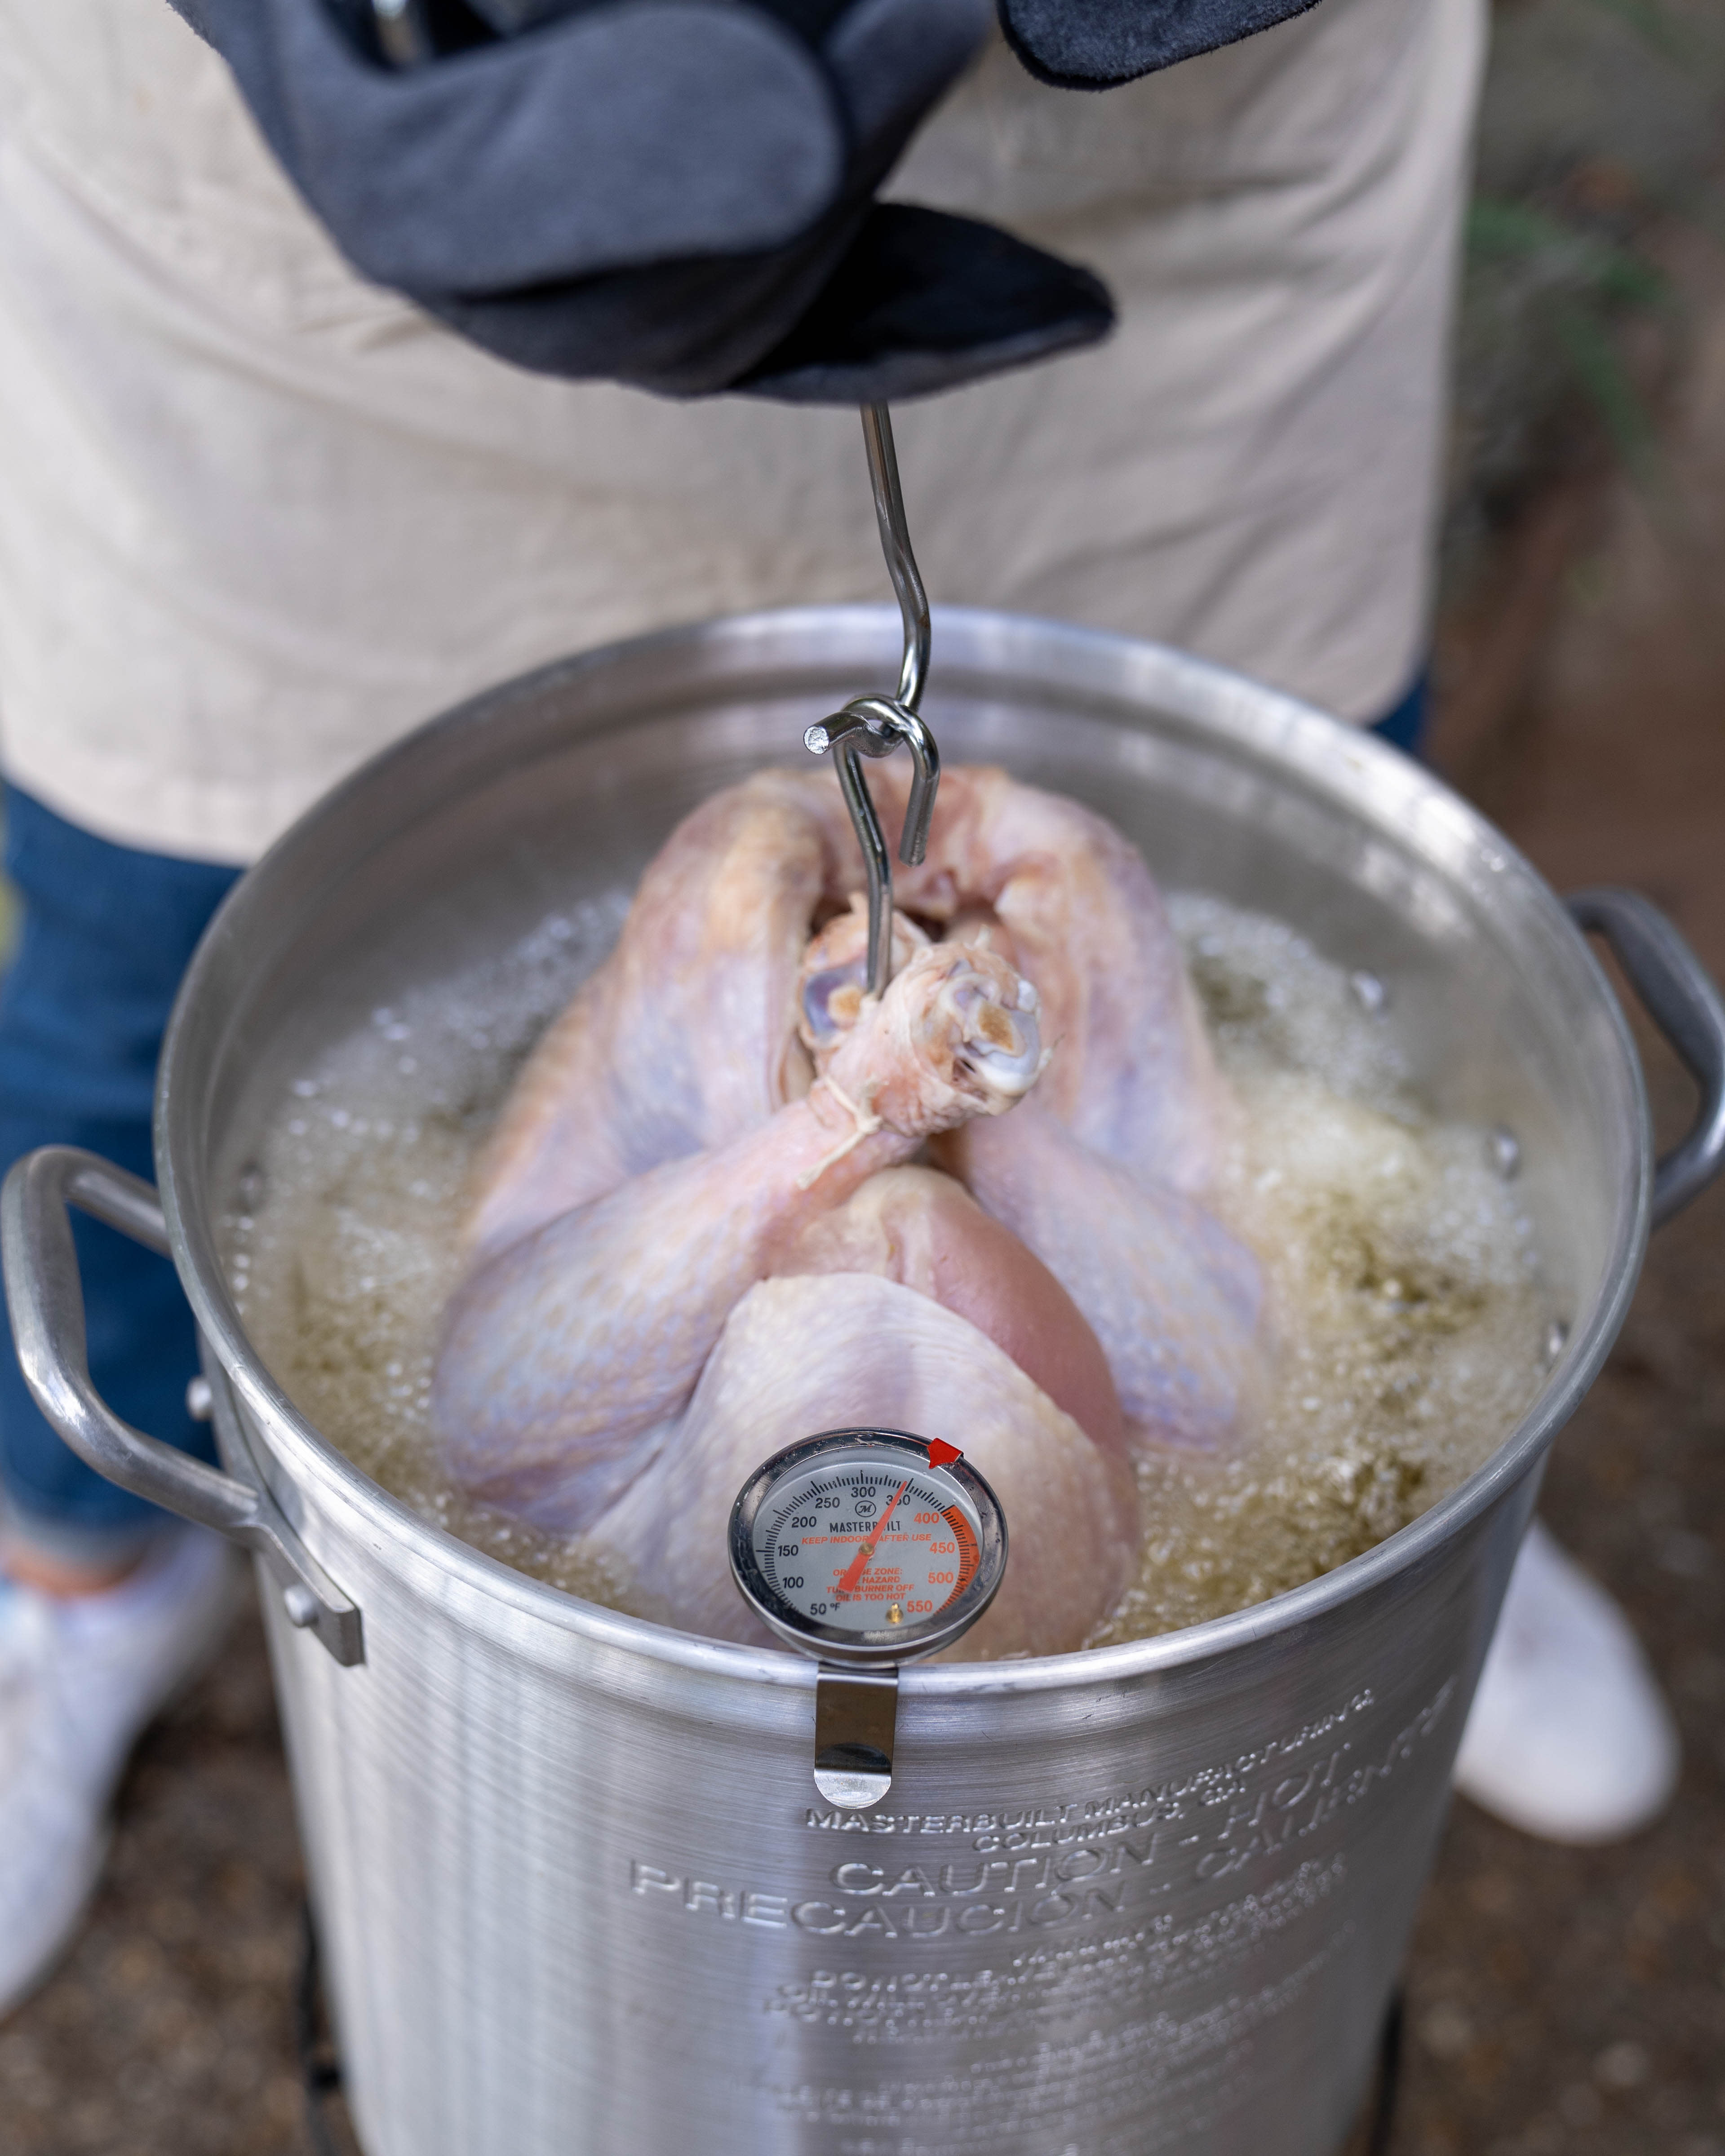
- Slow and Controlled Lowering: Lower the turkey into the hot oil slowly and carefully to avoid splatters. Use heat-resistant gloves and a poultry lifter to maintain control during the process.
- Turning Off the Burner: For added safety, consider turning off the fryer burner while lowering the turkey into the oil. This reduces the risk of flare-ups and allows you to focus on lowering the turkey safely.
- Monitoring the Oil Temperature: Keep an eye on the oil temperature throughout the frying process to ensure it remains within the safe range. Use a probe thermometer to monitor the temperature and adjust the burner as needed.
Being Prepared for Emergencies
Despite taking precautions, it’s essential to be prepared for emergencies and know how to respond effectively:
- Fire Extinguisher: Always have a fire extinguisher rated for grease fires within reach of the frying area. Familiarize yourself with its operation beforehand and ensure it’s in good working condition.
- Maintaining a Safe Distance: Keep a safe distance from the fryer during the frying process to avoid burns or injuries. Never lean over the fryer or reach into the hot oil.
- Staying Alert: Remain vigilant and attentive throughout the frying process, avoiding distractions and maintaining focus on safety. If you notice any signs of smoke, overheating, or oil splatters, take immediate action to address the issue.
Step 5: Frying the Turkey
:max_bytes(150000):strip_icc()/__opt__aboutcom__coeus__resources__content_migration__serious_eats__seriouseats.com__images__2014__11__20141116-deep-fried-turkey-outdoors-vicky-wasik-10-32af2cf3f15b465881e9f368b7e0a9eb.jpg)
Heating the Oil
Before frying the turkey, it’s essential to heat the oil to the correct temperature. Follow these steps to heat the oil safely:
- Proper Temperature: Heat the oil to 375°F using a probe thermometer to monitor the temperature accurately. Maintaining the correct oil temperature is crucial for achieving crispy, evenly cooked turkey.
- Slow and Steady Heating: Heat the oil gradually over medium to medium-high heat, allowing it to come to temperature slowly. Avoid heating the oil too quickly, as this can lead to uneven cooking and oil splatters.
- Monitoring Temperature: Use a reliable probe thermometer to monitor the oil temperature throughout the heating process. Adjust the burner as needed to maintain the desired temperature.
Lowering the Turkey into the Oil
Once the oil has reached the correct temperature, it’s time to lower the turkey into the fryer. Follow these steps for safe and controlled lowering:
- Turn Off the Burner: Consider turning off the fryer burner while lowering the turkey into the oil for added safety. This reduces the risk of flare-ups and allows you to focus on lowering the turkey slowly.
- Slow and Controlled Lowering: Use heat-resistant gloves and a poultry lifter to lower the turkey into the hot oil slowly and carefully. Avoid dropping the turkey into the oil, as this can cause dangerous splatters.
- Maintaining Control: Keep a firm grip on the poultry lifter and lower the turkey into the oil at a steady pace. Be prepared for the oil to bubble and rise as the turkey is lowered in, but maintain control to prevent spills or accidents.
Monitoring Cooking Time
Once the turkey is in the oil, it’s essential to monitor the cooking time closely to ensure it cooks evenly and reaches the correct internal temperature. Follow these guidelines for monitoring cooking time:
- Estimated Cooking Time: Deep-fried turkeys cook much faster than traditional roasted turkeys, typically requiring approximately 3.5 minutes per pound. However, it’s essential to monitor the turkey closely and begin checking for doneness around 30 minutes into the frying process.
- Internal Temperature: Use a probe thermometer to check the internal temperature of the turkey, ensuring it reaches 165°F in the thickest part of the thigh. This temperature ensures that the turkey is fully cooked and safe to eat.
- Safety Precautions: Exercise caution when handling the turkey and monitoring its cooking progress. Avoid leaning over the fryer or reaching into the hot oil to prevent burns or injuries.
Removing and Resting the Turkey
Once the turkey has reached the correct internal temperature and is fully cooked, it’s time to remove it from the oil and let it rest before carving. Follow these steps for safe removal and resting:
- Turn Off the Burner: Before removing the turkey from the fryer, turn off the burner to prevent any accidents or flare-ups.
- Careful Removal: Use heat-resistant gloves and the poultry lifter to carefully lift the turkey out of the hot oil. Allow any excess oil to drain off the turkey before transferring it to a cutting board or serving platter.
- Resting Period: Let the turkey rest for at least 20 minutes before carving to allow the juices to redistribute and the skin to crisp up further. Cover the turkey loosely with foil to keep it warm during the resting period.
Step 6: Letting the Turkey Rest
:max_bytes(150000):strip_icc()/215412-simple-deep-fried-turkey-vat-01-4x3-1-fc3078f38cd542a5a223d9c53ef25596.jpg)
Importance of Resting
Resting the turkey allows the juices within the meat to redistribute evenly, resulting in a moister and more flavorful bird. Here’s why it’s important:
- Juice Redistribution: During the frying process, the juices within the turkey are redistributed and concentrated towards the center of the meat. Allowing the turkey to rest gives these juices time to redistribute evenly throughout the bird, ensuring every bite is succulent and flavorful.
- Texture Enhancement: Resting allows the proteins in the meat to relax, resulting in a more tender and evenly textured turkey. This prevents the juices from escaping when the turkey is carved, keeping the meat moist and juicy.
- Crispier Skin: Resting the turkey allows the skin to continue crisping up as it cools slightly. This ensures that the skin remains deliciously crispy and golden brown when served.
How to Let the Turkey Rest
Follow these steps to ensure that your turkey rests properly after frying:
- Transfer to a Cutting Board: Carefully transfer the fried turkey to a clean cutting board or serving platter using heat-resistant gloves and a poultry lifter. Allow any excess oil to drain off the turkey as you move it.
- Loosely Tent with Foil: Loosely tent the turkey with aluminum foil to keep it warm during the resting period. Avoid wrapping the turkey too tightly, as this can trap steam and cause the skin to become soggy.
- Resting Time: Let the turkey rest for at least 20 minutes before carving. This allows the juices to redistribute and the skin to crisp up further. However, you can let it rest for up to 30 minutes if needed without compromising the quality.
Carving and Serving
Once the turkey has rested, it’s time to carve and serve it to your eager guests. Here’s how to proceed:
- Carving: Use a sharp carving knife to slice the turkey into desired portions, such as breast, thigh, and drumstick. Begin by removing the legs and wings, followed by the breast meat. Slice the meat against the grain for maximum tenderness.
- Presentation: Arrange the carved turkey pieces on a serving platter, garnishing with fresh herbs or citrus slices for an elegant presentation. Serve immediately while the meat is still warm and juicy.
- Enjoyment: Sit back, relax, and enjoy the fruits of your labor with family and friends. Deep-fried turkey is a delicious and indulgent dish that’s sure to be a hit at any gathering.
Conclusion
Deep frying a turkey can be a safe and enjoyable cooking method when done correctly. By following these step-by-step instructions and adhering to safety precautions, you can achieve a delicious deep-fried turkey without any accidents. Enjoy the crispy skin and juicy meat of your perfectly cooked turkey with peace of mind knowing that you’ve taken the necessary precautions to ensure a safe cooking experience.