
Fried chicken breast is a timeless classic, beloved by many for its crispy exterior and juicy interior. However, achieving the perfect balance of crispiness and tenderness requires precise timing when frying. In this comprehensive guide, we will delve into the intricacies of frying chicken breasts in a deep fryer, exploring the optimal cooking times and techniques to ensure culinary perfection.
Understanding the Basics of Frying Chicken Breast
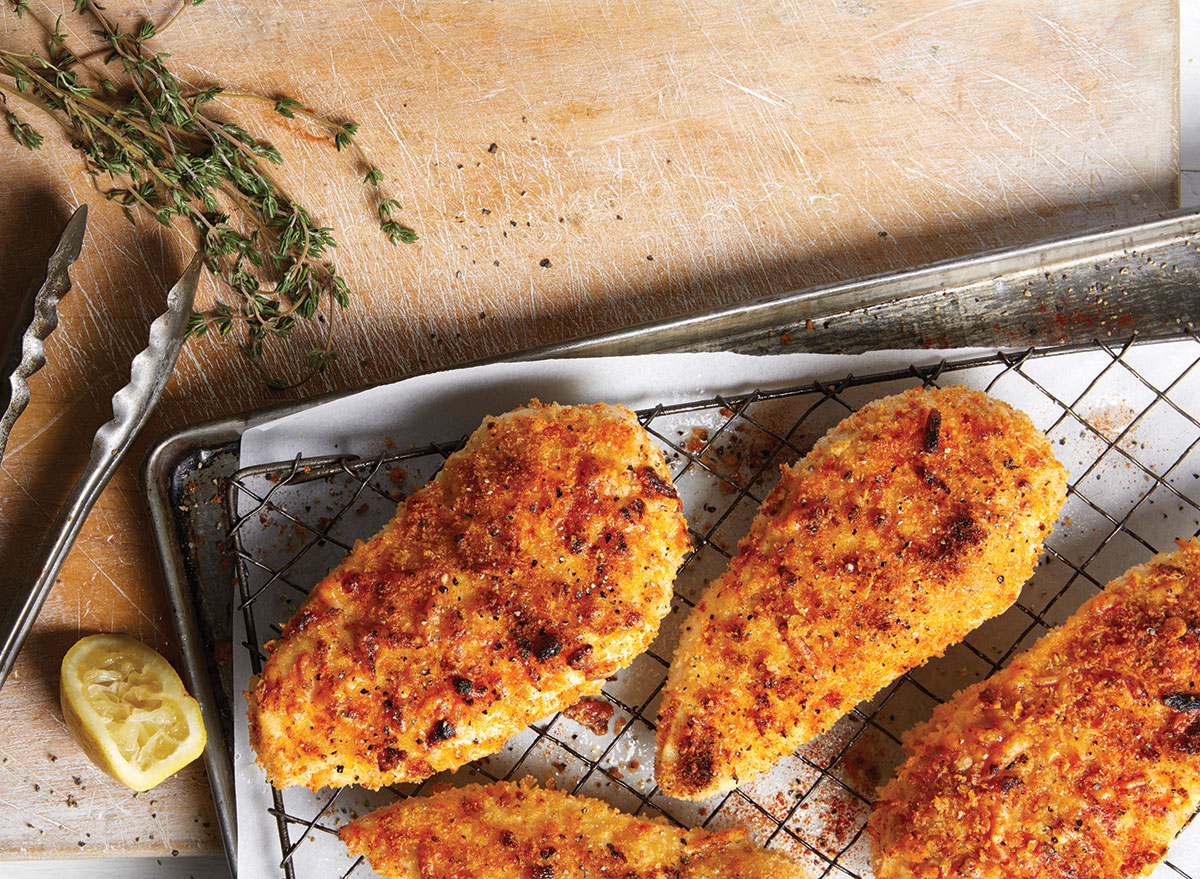
:max_bytes(150000):strip_icc()/336792_breaded-chicken-breasts-12-877d76b08e44450fa77c20a0e449a741.jpg)
Preparation
Selecting Chicken Breasts:
- Choose fresh chicken breasts that are plump, firm, and free from any off odors or discoloration.
- Opt for breasts of similar size to ensure uniform cooking.
Trimming and Drying:
- Trim any excess fat or skin from the chicken breasts, as these can cause splattering during frying.
- Use paper towels to thoroughly pat the chicken breasts dry. Moisture on the surface of the meat can prevent proper browning and crispiness.
Seasoning:
- Season the chicken breasts according to your preference. This can range from simple salt and pepper to more complex spice blends.
- Ensure even distribution of seasoning by rubbing it into the meat or using a marinade for deeper flavor penetration.
Breading Process
Setting Up a Breading Station:
- Create a breading station with three shallow bowls or containers: one for flour, one for egg wash, and one for breadcrumbs.
- This setup allows for a systematic and efficient coating process.
Dredging:
- Dredge the chicken breasts in the flour mixture first, ensuring that they are fully coated. The flour helps the egg wash adhere to the meat.
- Shake off any excess flour to prevent clumping in the egg wash.
Egg Wash:
- Prepare an egg wash by whisking together eggs and a small amount of milk or water. This helps to bind the breadcrumbs to the chicken breasts and adds moisture.
- Dip each floured chicken breast into the egg wash, ensuring that it is completely coated.
Breadcrumb Coating:
- Coat the chicken breasts generously with breadcrumbs, pressing them firmly onto the surface to ensure even coverage.
- Panko breadcrumbs are popular for their light and crispy texture, but you can use any type of breadcrumbs you prefer.
Resting Period:
Allow the breaded chicken breasts to rest for a few minutes before frying. This allows the coating to set and adhere properly to the meat.
Temperature Control
Preheating the Oil:
- Preheat the deep fryer to the recommended temperature, typically between 340°F to 360°F.
- Bringing the oil to the correct temperature before adding the chicken breasts ensures even cooking and crispy results.
Monitoring Oil Temperature:
- Use a reliable thermometer to monitor the oil temperature throughout the frying process.
- Adjust the heat as needed to maintain a consistent temperature, as fluctuations can affect the cooking time and result in unevenly fried chicken breasts.
Determining Frying Time
Thickness of Chicken Breasts
Uniformity:
- Aim for chicken breasts of uniform thickness to ensure even cooking.
- If the breasts vary in thickness, consider pounding them gently with a meat mallet to achieve uniformity.
Thicker Breasts:
- Thicker chicken breasts will naturally require longer cooking times to ensure they are fully cooked and tender.
- Keep in mind that thicker cuts may also retain heat differently, affecting the overall frying time.
Thin Slices:
- If you prefer thinner slices of chicken breast, you can slice them horizontally or use a meat tenderizer to flatten them slightly.
- Thinner slices will cook more quickly but may require adjustments to prevent overcooking.
Recommended Frying Times
General Guidelines:
- On average, chicken breasts should be fried for approximately 10 to 12 minutes in a deep fryer.
- However, this time can vary depending on factors such as the size and thickness of the chicken breasts, as well as the temperature of the oil.
Internal Temperature:
- It’s essential to use an instant-read thermometer to verify that the internal temperature of the chicken reaches 160°F (71°C) for safe consumption.
- Insert the thermometer into the thickest part of the chicken breast to ensure accurate readings.
Adjustments:
- If the chicken breasts are particularly thick, you may need to extend the frying time slightly to ensure they are fully cooked.
- Conversely, if the breasts are thinner or sliced thinly, reduce the frying time to prevent overcooking and ensure they remain tender and juicy.
Visual Cues for Doneness
Golden Brown Color:
- A uniform golden brown color indicates that the chicken breasts are properly fried and crispy on the outside.
- Avoid undercooking or overcooking by monitoring the color closely during frying.
Crispiness of Coating:
- Touch the surface of the chicken breasts to assess the crispiness of the coating. It should feel firm and crispy to the touch.
- Overcooked chicken breasts may become excessively crispy or even burnt, while undercooked ones may feel soggy or greasy.
Floating Behavior:
- Fried chicken breasts will typically float to the surface of the oil when they are fully cooked.
- This visual cue can help determine when the chicken breasts are ready to be removed from the fryer, but always verify doneness with a thermometer.
Tips for Perfectly Fried Chicken Breasts
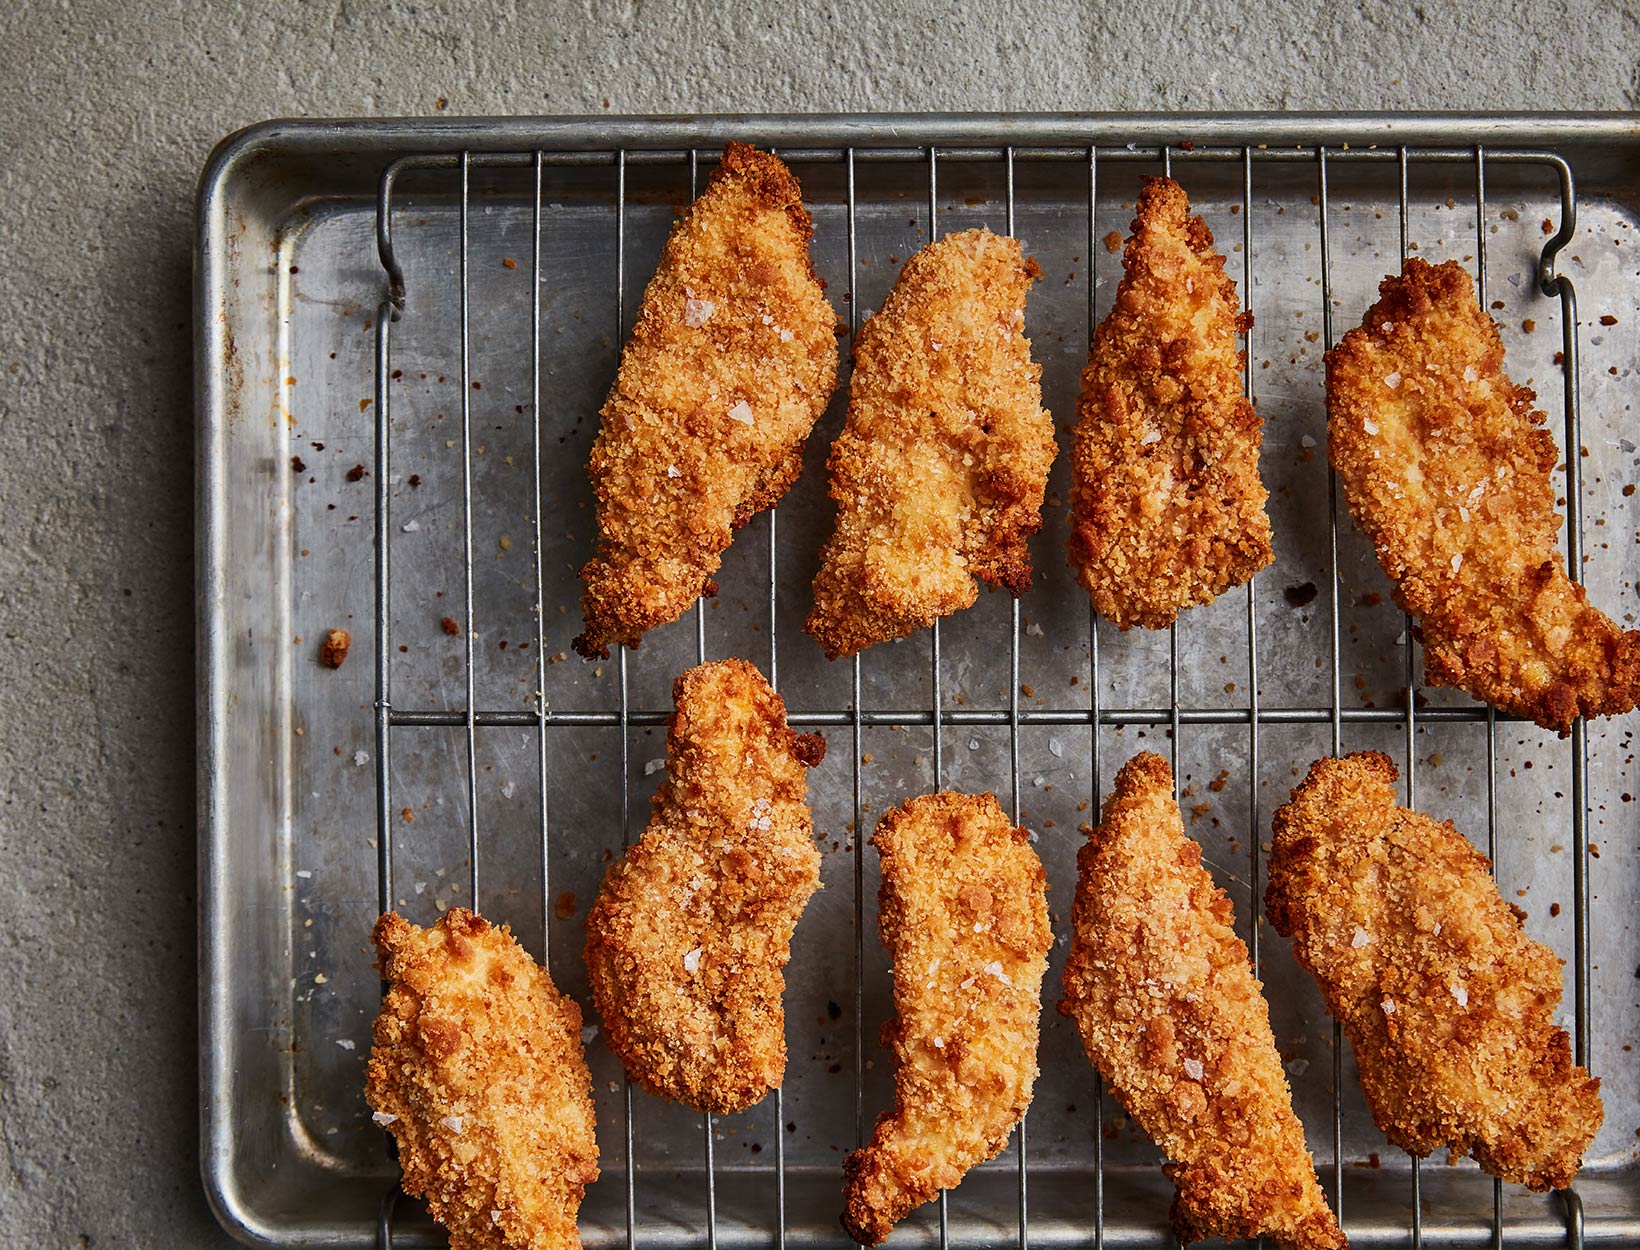
Use a Wire Rack
Drain Excess Oil:
- After frying, transfer the chicken breasts to a wire rack set over a baking sheet or paper towels.
- This allows excess oil to drain away, preventing the chicken from becoming greasy or soggy.
Promote Crispiness:
Elevating the chicken breasts on a wire rack ensures that air circulates evenly around them, helping to maintain their crispy coating.
Avoid Crowding the Fryer
Maintain Consistent Temperature:
- Fry the chicken breasts in batches to prevent overcrowding the fryer.
- Overcrowding can lower the oil temperature, resulting in uneven cooking and a less crispy texture.
Optimal Cooking Conditions:
By maintaining consistent oil temperature and allowing ample space between each piece of chicken, you’ll achieve perfectly fried results every time.
Resting Period
Allow Juices to Settle:
- Allow the fried chicken breasts to rest for a few minutes before serving.
- This resting period allows the juices to redistribute throughout the meat, ensuring maximum tenderness and flavor.
Prevent Sogginess:
Allowing the chicken breasts to rest also helps the coating to set and adhere properly, preventing them from becoming soggy.
Experiment with Seasonings
Customize Flavor Profiles:
- Get creative with your seasoning blends by incorporating herbs, spices, or even a hint of citrus zest into the breadcrumb coating.
- Experimenting with different seasonings allows you to customize the flavor profile of your fried chicken breasts to suit your taste preferences.
Infuse Depth of Flavor:
Adding seasonings not only enhances the taste of the chicken but also adds depth and complexity to the overall dish.
Safety Precautions
Handle Hot Oil with Care:
- Exercise caution when working with hot oil to prevent accidents and injuries.
- Use long-handled utensils and wear protective gear, such as oven mitts or gloves, when handling frying equipment.
Supervise Children and Pets:
Keep children and pets out of the kitchen when frying chicken breasts to avoid accidents and ensure their safety.
Conclusion
Mastering the art of frying chicken breasts in a deep fryer requires a combination of precision, technique, and attention to detail. By understanding the factors that influence frying times and following best practices, you can achieve crispy, succulent chicken breasts that are sure to delight your taste buds. So, fire up your deep fryer, sharpen your culinary skills, and embark on a delicious journey of fried chicken perfection!