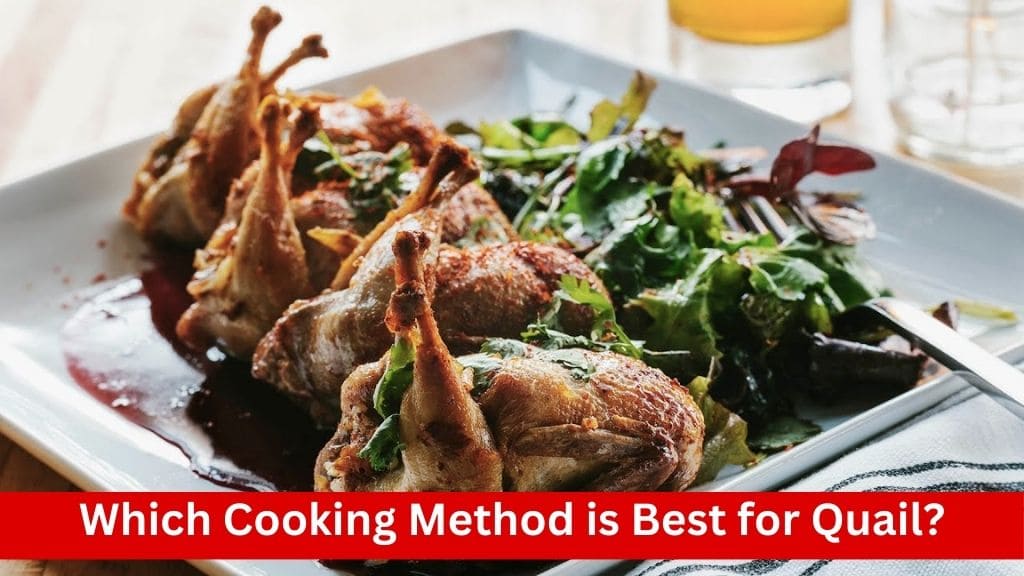
Quail is a delicacy enjoyed by many for its tender and flavorful meat. However, when it comes to cooking quail, there are various methods to choose from. Each method offers its own unique advantages and brings out different aspects of the quail’s taste and texture. In this comprehensive guide, we’ll explore three popular cooking methods for quail: roasting, grilling, and sautéing. We’ll delve into the nuances of each method, discussing their pros and cons, and ultimately help you determine which cooking method is best for quail.
Roasting Quail
Roasting is a classic cooking method that involves cooking the quail in the oven at a moderate temperature. This method allows for even cooking and produces a juicy and flavorful end result.
Ingredients
- 4 whole quail
- 4 tablespoons (60 ml) butter or olive oil
- 1 teaspoon (5 ml) salt
- 1/2 teaspoon (2.5 ml) ground black pepper
Steps
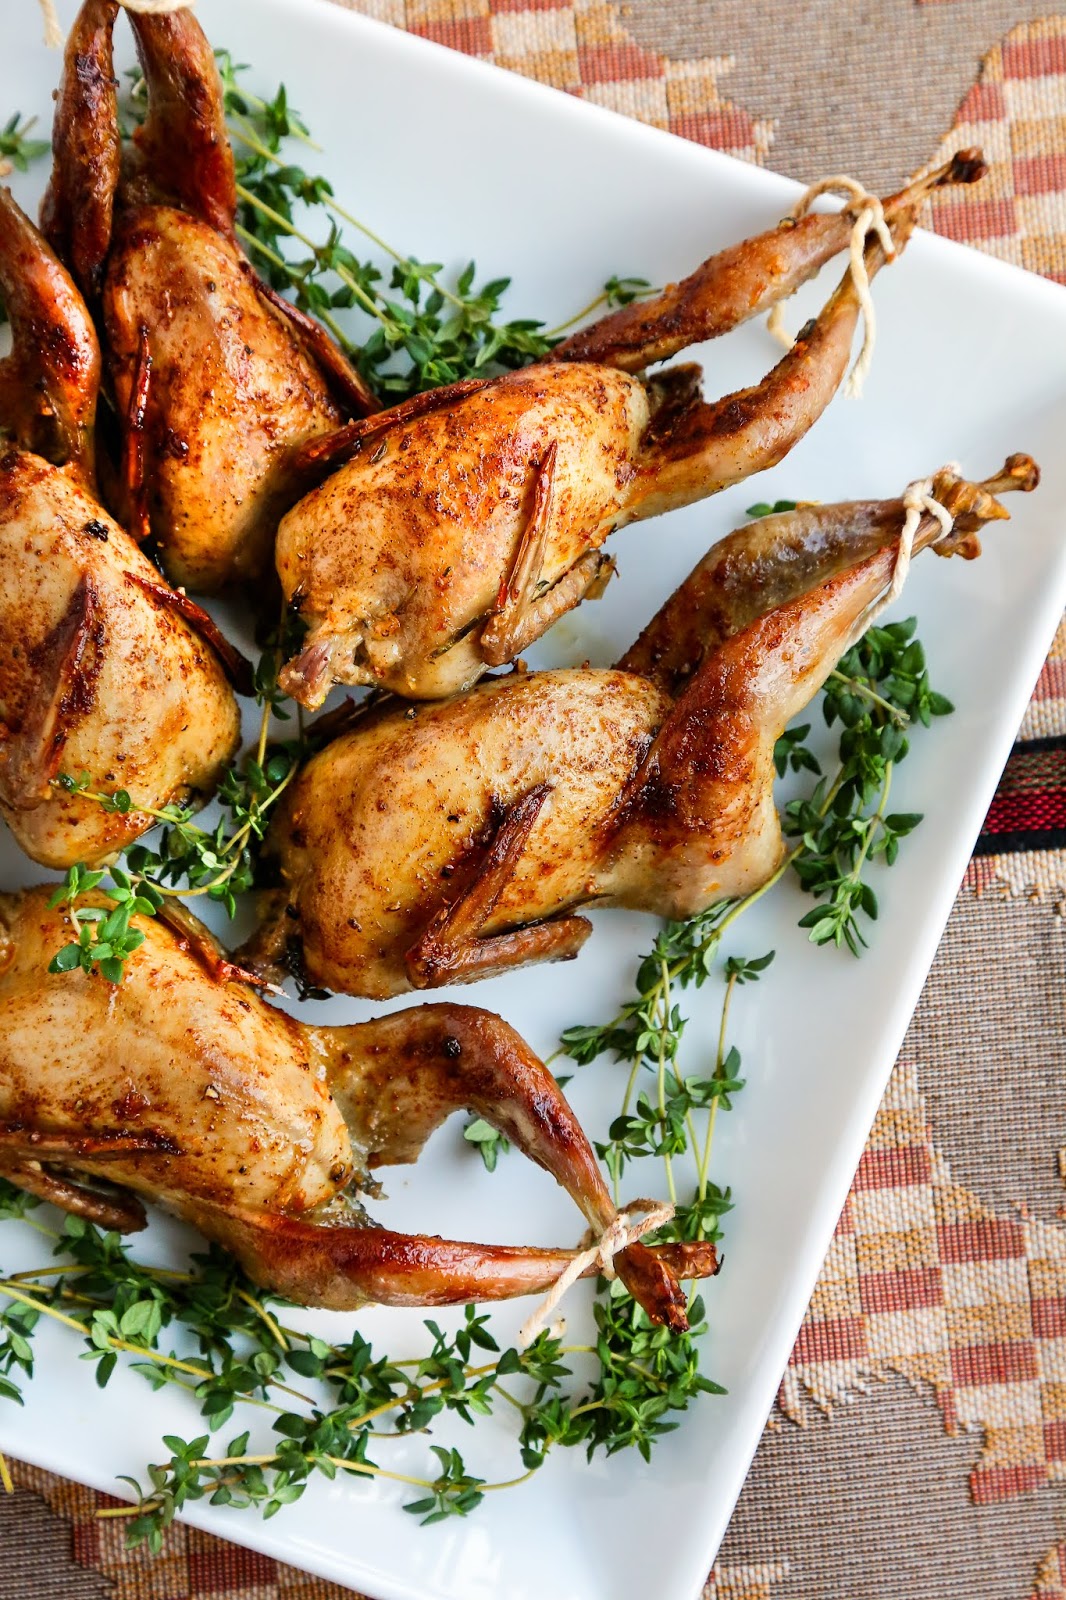
- Preparation: Start by tying the quail’s legs together with kitchen twine to ensure even cooking. This step helps the quail retain its shape and moisture during the roasting process.
- Coating: Coat the quail with melted butter or olive oil using a pastry brush. This not only adds flavor but also helps the skin crisp up during roasting. Season the quail generously with salt and pepper, ensuring that each bird is evenly seasoned.
- Roasting: Place the seasoned quail breast-side down in a preheated oven set to 350°F (175°C). Roast for approximately 15 to 20 minutes until the meat is firm and the juices run clear. Cooking time may vary depending on the size of the quail and the accuracy of your oven.
- Resting: Once the quail is cooked through, remove it from the oven and allow it to rest for 5 to 10 minutes before serving. This resting period allows the juices to redistribute throughout the meat, resulting in a juicier and more flavorful final dish.
Tips
- Choose fresh quail with plump appearance and unblemished skin for the best results.
- Consider marinating the quail for a few hours before roasting to enhance its flavor. A simple marinade of olive oil, garlic, herbs (such as thyme, sage, and parsley), and lemon juice works well.
- To prevent the quail from drying out during roasting, baste it with melted butter or olive oil halfway through the cooking process.
- Serve the roasted quail with your favorite side dishes and sauces for a complete meal.
Grilling Quail
Grilling quail is a popular cooking method that imparts a delicious charred flavor to the meat while keeping it tender and juicy. It’s a perfect option for outdoor cooking enthusiasts who enjoy the smoky aroma of grilled foods.
Ingredients
- 4 whole quail
- Salt and black pepper (to taste)
Steps
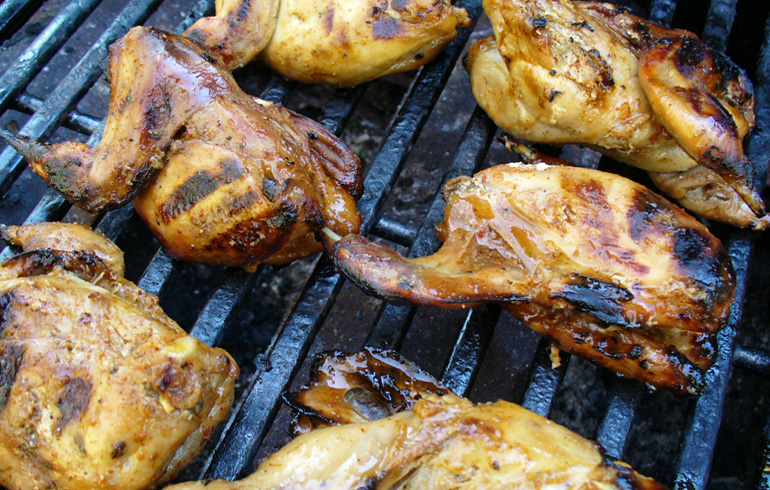
- Preparation: Begin by removing the backbone of each quail using kitchen scissors. This step helps the quail cook more evenly on the grill and allows for easier handling. Flatten the quail by pressing down firmly along the length of the body until it lies flat. Season both sides of the quail generously with salt and black pepper.
- Grilling: Preheat your grill to medium-high heat. If using a gas grill, turn on two sets of burners (the front and rear or the left and right) to medium-high heat and leave the middle burner off. If using a charcoal grill, position piles of hot coals on each side of the grill, leaving the middle section clear. Place the seasoned quail on the grill, breast-side down, directly over the heat source. Grill for 3 to 4 minutes on each side until the quail is browned and grill marks appear. Avoid moving or flipping the quail too often to ensure even cooking and a nice charred exterior.
- Indirect Cooking: Once both sides of the quail are browned, move them to the middle or indirectly heated section of the grill. Continue grilling for an additional 10 to 12 minutes, or until the quail is cooked through and the juices run clear. Keep the grill lid closed during this time to trap the heat and smoke, which adds flavor to the quail.
- Resting: Remove the grilled quail from the grill and let them rest for 5 to 10 minutes before serving. This resting period allows the juices to redistribute throughout the meat, resulting in a more tender and flavorful final dish.
Tips
- For added flavor, consider marinating the quail in your favorite marinade for a few hours before grilling.
- Make sure to oil the grill grates lightly before placing the quail on them to prevent sticking.
- Keep a close eye on the quail while grilling to prevent them from overcooking and drying out.
- Serve the grilled quail with fresh herbs, lemon wedges, or your favorite barbecue sauce for a delicious meal.
Sautéing Quail

Sautéing quail is a quick and versatile cooking method that results in crispy skin and tender meat. It’s perfect for those who prefer a more hands-on approach to cooking and want to enjoy quail in a shorter amount of time.
Ingredients
- 4 whole quail
- 4 tablespoons (60 ml) butter or olive oil
- Salt and black pepper (to taste)
Steps
- Preparation: Begin by flattening each quail to ensure even cooking. Use kitchen scissors to remove the backbone of each quail, then press down firmly along the length of the body until it lies flat. Insert two skewers along the width of each quail to help it remain flat during the cooking process. Season both sides of the quail generously with salt and black pepper.
- Sautéing: Heat a medium to large skillet over high heat and add the butter or olive oil. Once the butter is melted or the oil is hot, add the seasoned quail to the skillet, breast-side down. Sauté the quail for 4 to 5 minutes on each side until browned and cooked through. Avoid moving or flipping the quail too often to ensure a crispy exterior and tender interior.
- Basting: As the quail cooks, use a spoon to baste them with the hot butter or oil in the skillet. This helps to keep the quail moist and flavorful while enhancing the browning process.
- Resting: Once the quail is cooked through and golden brown on both sides, remove them from the skillet and transfer them to a serving plate. Allow the quail to rest for 5 to 10 minutes before serving. This resting period allows the juices to redistribute throughout the meat, resulting in a more tender and flavorful final dish.
Tips
- Make sure the skillet is hot before adding the quail to ensure a nice sear and crispy skin.
- Use a high-quality butter or olive oil for sautéing to enhance the flavor of the quail.
- Don’t overcrowd the skillet; cook the quail in batches if necessary to prevent steaming and ensure even cooking.
- Serve the sautéed quail with a side of vegetables, rice, or salad for a complete and satisfying meal.
Conclusion
Each cooking method offers its own unique advantages and brings out different aspects of the quail’s taste and texture. Roasting is perfect for those who prefer a hands-off approach and desire tender and juicy meat. Grilling imparts a delicious smoky flavor and is ideal for outdoor cooking enthusiasts. Sautéing is quick and versatile, resulting in crispy skin and tender meat. Ultimately, the best cooking method for quail depends on personal preference and the desired flavor profile. Experiment with each method to discover your favorite way to enjoy this delectable bird. Happy cooking!