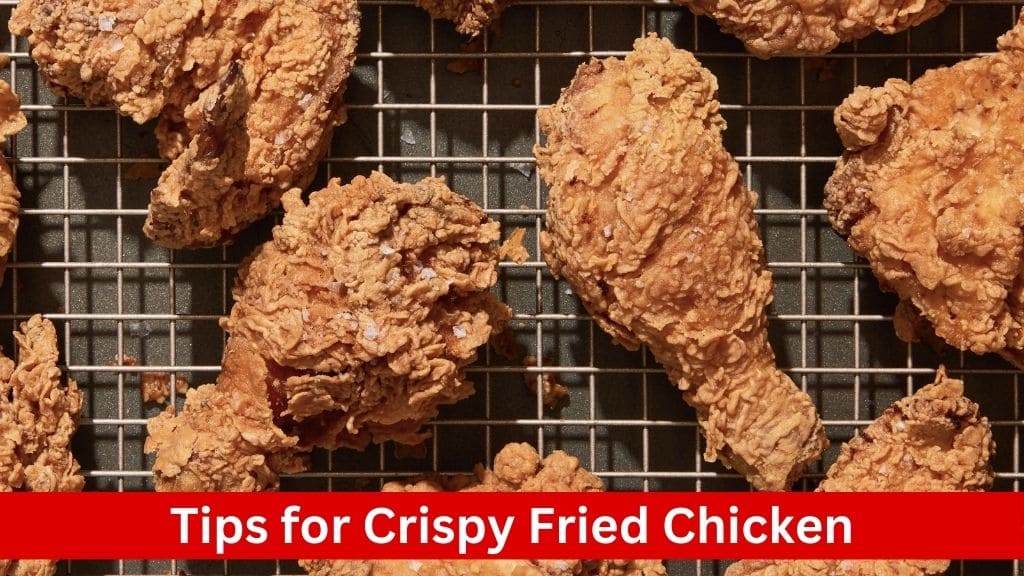
Who can resist the temptation of a perfectly crispy, golden-brown piece of fried chicken? Whether it’s a family dinner or a weekend picnic, fried chicken always steals the show. But achieving that ideal crunch can be elusive for many home cooks. Fear not! With the right techniques and a few insider tips, you can master the art of crispy fried chicken every time. In this comprehensive guide, we’ll delve into the secrets behind achieving that coveted crunch and turning your fried chicken into a culinary masterpiece.

Before diving into the tips and tricks, let’s take a moment to understand the science behind crispy fried chicken. At its core, achieving crispiness involves a delicate balance of moisture, temperature, and coating. When fried, moisture evaporates from the surface of the chicken, creating a crispy crust. However, if the chicken is too wet or the oil temperature is too low, the crust can become soggy instead. The key is to maximize moisture evaporation while maintaining the integrity of the crust.
Selecting the Right Chicken Pieces

Bone-in vs. Boneless
Bone-in Chicken Pieces: Opting for bone-in chicken pieces, such as drumsticks and thighs, is highly recommended for several reasons:
- Enhanced Flavor: The bones contribute additional flavor to the meat during the frying process, resulting in a richer and more savory end product.
- Juiciness: Bone-in cuts tend to retain moisture better than boneless cuts, resulting in juicier fried chicken.
- Even Cooking: The presence of bones helps distribute heat more evenly throughout the meat, reducing the risk of overcooked or undercooked areas.
Boneless Chicken: While boneless chicken cuts like breast fillets can be used for frying, they may require special attention to prevent dryness:
- Quick Cooking: Boneless cuts cook more rapidly than bone-in cuts, which can increase the risk of overcooking and dryness if not monitored closely.
- Uniformity: When using boneless cuts, ensure they are of uniform thickness to promote even cooking.
Size and Uniformity
Consistent Sizing: Select chicken pieces that are similar in size to ensure uniform cooking. This prevents some pieces from becoming overcooked while others remain undercooked.
Thickness: Pay attention to the thickness of the chicken pieces, especially when using boneless cuts. Thicker pieces may require longer cooking times, while thinner pieces may cook more quickly.
Personal Preferences
Preference for Dark Meat: Drumsticks and thighs are favored by many for their richer flavor and juiciness compared to breast meat. Consider your personal preferences and those of your diners when selecting chicken pieces.
Preparing the Chicken for Frying
:max_bytes(150000):strip_icc()/AR-89268-triple-dipped-fried-chicken-beauty-4x3-3961ac838ddd41958e7cb9f49376cd68.jpg)
Dry Brining for Juiciness
Definition: Dry brining involves seasoning the chicken with salt and allowing it to rest before frying. This technique helps enhance the flavor of the meat, tenderize it, and draw out excess moisture.
Benefits:
- Enhanced Flavor: The salt penetrates the meat, enhancing its natural flavor and ensuring every bite is seasoned to perfection.
- Tenderness: The salt helps break down muscle fibers, resulting in a more tender and succulent texture.
- Moisture Retention: Contrary to what one might expect, dry brining actually helps the chicken retain moisture during frying, resulting in juicier meat.
Timing: Dry brining can be done anywhere from 30 minutes to overnight, depending on your schedule and preferences. Even a short 30-minute brine can make a noticeable difference in flavor and texture.
Seasoning Blend
Ingredients: Create a robust seasoning blend using a combination of herbs, spices, and aromatics. Common components include smoked paprika, garlic powder, onion powder, black pepper, and cayenne pepper.
Customization: Feel free to customize the seasoning blend to suit your taste preferences. Experiment with different spice combinations or add additional ingredients like dried herbs or citrus zest for a unique twist.
Application: Coat the chicken pieces generously with the seasoning blend, ensuring that every surface is evenly covered. This step not only adds flavor but also contributes to the development of a flavorful crust during frying.
Resting Time
Purpose: Allowing the seasoned chicken to rest for a brief period before frying is essential for several reasons:
- Flavor Infusion: During the resting period, the seasoning blend has time to penetrate the meat, infusing it with flavor.
- Coating Adherence: Resting allows the seasoning to adhere to the chicken more effectively, ensuring a well-seasoned crust.
- Temperature Equilibration: Bringing the chicken to room temperature before frying promotes more even cooking and reduces the risk of overcooking the exterior while the interior remains undercooked.
Duration: Aim for a resting period of at least 10 minutes, though longer resting times (up to 30 minutes) can yield even better results.
Crafting the Perfect Coating
Egg Whites for Structure
Purpose: Incorporating egg whites into the batter provides structural support and helps the flour coating adhere to the chicken more effectively.
Benefits:
- Structural Integrity: The proteins in egg whites create a sturdy framework that helps the coating adhere to the chicken and maintain its shape during frying.
- Adhesion: The sticky nature of egg whites helps the flour mixture adhere to the chicken, resulting in a uniform and well-bonded crust.
Application: Whisk the egg whites until frothy and incorporate them into the batter along with other wet ingredients. Ensure that the chicken is thoroughly coated with the egg mixture before dredging in the flour mixture.
Alcohol in the Batter
Purpose: Adding a small amount of alcohol, such as vodka or bourbon, to the batter serves multiple purposes in achieving a light and crispy crust.
Benefits:
- Evaporation: Alcohol evaporates quickly in the hot oil, leaving behind air pockets that contribute to the light and airy texture of the crust.
- Texture Enhancement: The presence of alcohol helps create a delicate and flaky crust, reminiscent of the texture achieved in professional frying techniques like tempura.
Application: Incorporate the alcohol into the wet ingredients, such as buttermilk or egg mixture, before combining with the dry ingredients. Use a light hand when adding alcohol to avoid overpowering the flavor of the chicken.
Cornstarch for Crispiness
Purpose: Mixing cornstarch into the flour coating helps achieve an extra crispy texture by weakening the gluten and promoting a lighter crust.
Benefits:
- Gluten Reduction: Cornstarch weakens the gluten in the flour, resulting in a lighter and more delicate crust.
- Crispiness: The presence of cornstarch promotes the formation of crispy, golden-brown flakes and ridges on the surface of the chicken.
Application: Combine cornstarch with all-purpose flour and other dry ingredients to create the coating mixture. Ensure that the chicken is evenly coated with the flour mixture, pressing gently to adhere the coating to the surface of the chicken.
Customization and Experimentation
Flexibility: Don’t be afraid to experiment with different ingredients and proportions to tailor the coating to your preferences.
Customization: Add additional spices, herbs, or seasonings to the flour mixture to enhance flavor and complexity.
Texture Variation: Adjust the ratio of flour to cornstarch to achieve your desired level of crispiness and texture.
Choosing the Right Cooking Equipment
Dutch Oven for Frying
Benefits:
- High Sides: The high sides of a Dutch oven help contain splatter and minimize the risk of oil overflow, ensuring a safer and less messy frying experience.
- Temperature Regulation: The heavy construction of a Dutch oven helps maintain a more consistent oil temperature, resulting in evenly cooked chicken with a crispier crust.
Safety: Unlike shallow skillets, which can pose a fire hazard due to oil overflow, Dutch ovens provide a safer frying environment with their deeper sides and secure lids.
Two Thermometers for Precision
Oil Thermometer: A dedicated deep-fry or candy thermometer is essential for monitoring the temperature of the frying oil. Maintaining the oil at the optimal temperature (usually around 350°F) is crucial for achieving crispy fried chicken without greasiness.
Probe Thermometer: A probe thermometer allows you to monitor the internal temperature of the chicken, ensuring that it reaches the recommended temperature of 165°F for safe consumption. This prevents overcooking or undercooking the chicken, resulting in juicy and flavorful meat.
Dual Monitoring: Using both types of thermometers simultaneously provides a comprehensive picture of the frying process, allowing for precise control over cooking temperature and chicken doneness.
Proper Drainage and Cooling
Wire Rack and Baking Sheet: Placing a wire rack over a baking sheet provides an efficient drainage and cooling station for the fried chicken. This setup allows excess oil to drain away from the chicken, preventing it from becoming soggy while cooling.
Paper Towels: Line the baking sheet with paper towels to absorb any residual oil and further promote crispiness. Avoid placing the chicken directly on paper towels, as this can create steam and compromise the texture of the crust.
Mastering the Frying Process
Maintaining Oil Temperature
Optimal Temperature: Heat the frying oil to around 350°F (175°C) before adding the chicken. This temperature ensures that the chicken cooks quickly and evenly, resulting in a crispy exterior and juicy interior.
Thermometer Usage: Use a deep-fry or candy thermometer to monitor the oil temperature throughout the frying process. Adjust the heat as needed to maintain a consistent temperature, as fluctuations can affect the texture and appearance of the fried chicken.
Frying in Batches
Avoid Overcrowding: Fry the chicken in batches to prevent overcrowding the frying vessel. Overcrowding can lower the oil temperature and result in soggy, greasy chicken. Ensure that there is enough space between each piece for even cooking and crispy crust development.
Batch Size: The size of each batch will depend on the size of your frying vessel and the amount of oil used. Aim to fry only as many pieces as can comfortably fit without touching or overlapping.
Proper Drainage and Cooling
Wire Rack Setup: After frying, transfer the chicken to a wire rack set over a baking sheet. This allows excess oil to drain away from the chicken, preventing it from becoming soggy.
Paper Towel Absorption: Line the baking sheet with paper towels to absorb any residual oil. Avoid placing the chicken directly on paper towels, as this can create steam and compromise the crispiness of the crust.
Cooling Time: Allow the fried chicken to cool for a few minutes before serving. This allows the crust to set and the juices to redistribute, resulting in a more flavorful and enjoyable eating experience.
Monitoring Chicken Doneness
Internal Temperature: Use a probe thermometer to ensure that the chicken reaches an internal temperature of 165°F (75°C) before removing it from the oil. Insert the thermometer into the thickest part of the chicken without touching the bone for an accurate reading.
Golden-Brown Color: While color can be an indicator of doneness, it’s not always reliable. Some spice blends may darken quickly, leading to a false sense of doneness. Rely primarily on temperature to gauge when the chicken is fully cooked.
Handling Used Fry Oil
Safe Disposal Methods
Cooling Process: Allow the used fry oil to cool completely to room temperature before handling. Attempting to handle hot oil can result in burns and spills.
Straining Process: Use a fine mesh strainer or cheesecloth to remove any food particles or debris from the used fry oil. This helps extend the oil’s lifespan and prevents clogging when disposing of it.
Container Selection: Transfer the cooled oil to a suitable container for disposal. Avoid pouring used fry oil down the sink or toilet, as it can cause blockages and environmental damage.
Disposal Options: Check with your local waste management facility for guidelines on disposing of used cooking oil. Some municipalities offer recycling programs or designated drop-off locations for used oil.
Storage Techniques
Cool, Dark Location: Store unused fry oil in a cool, dark place away from direct sunlight and heat sources. Exposure to light and heat can cause the oil to degrade more quickly.
Airtight Container: Transfer the oil to an airtight container to prevent oxidation and preserve freshness. Ensure that the container is clean and dry before pouring in the oil.
Labeling: Label the container with the type of oil and the date it was used. This helps track the oil’s freshness and prevents confusion when using multiple types of oil.
Refrigeration Option: If you plan to reuse the oil within a short period, consider storing it in the refrigerator. Refrigeration helps prolong the oil’s shelf life and prevents rancidity.
Reuse and Recycling
Multiple Uses: Depending on the type of oil and the cooking process, used fry oil can often be reused multiple times before disposal. Monitor the oil’s appearance, odor, and flavor to determine its suitability for reuse.
Recycling Programs: Investigate local recycling programs or facilities that accept used cooking oil. Many municipalities offer recycling options for converting used oil into biofuels or other useful products.
Environmental Impact: Properly disposing of used fry oil helps prevent environmental pollution and protects waterways and ecosystems from contamination. By participating in recycling programs or following safe disposal methods, you contribute to sustainability efforts and reduce your ecological footprint.
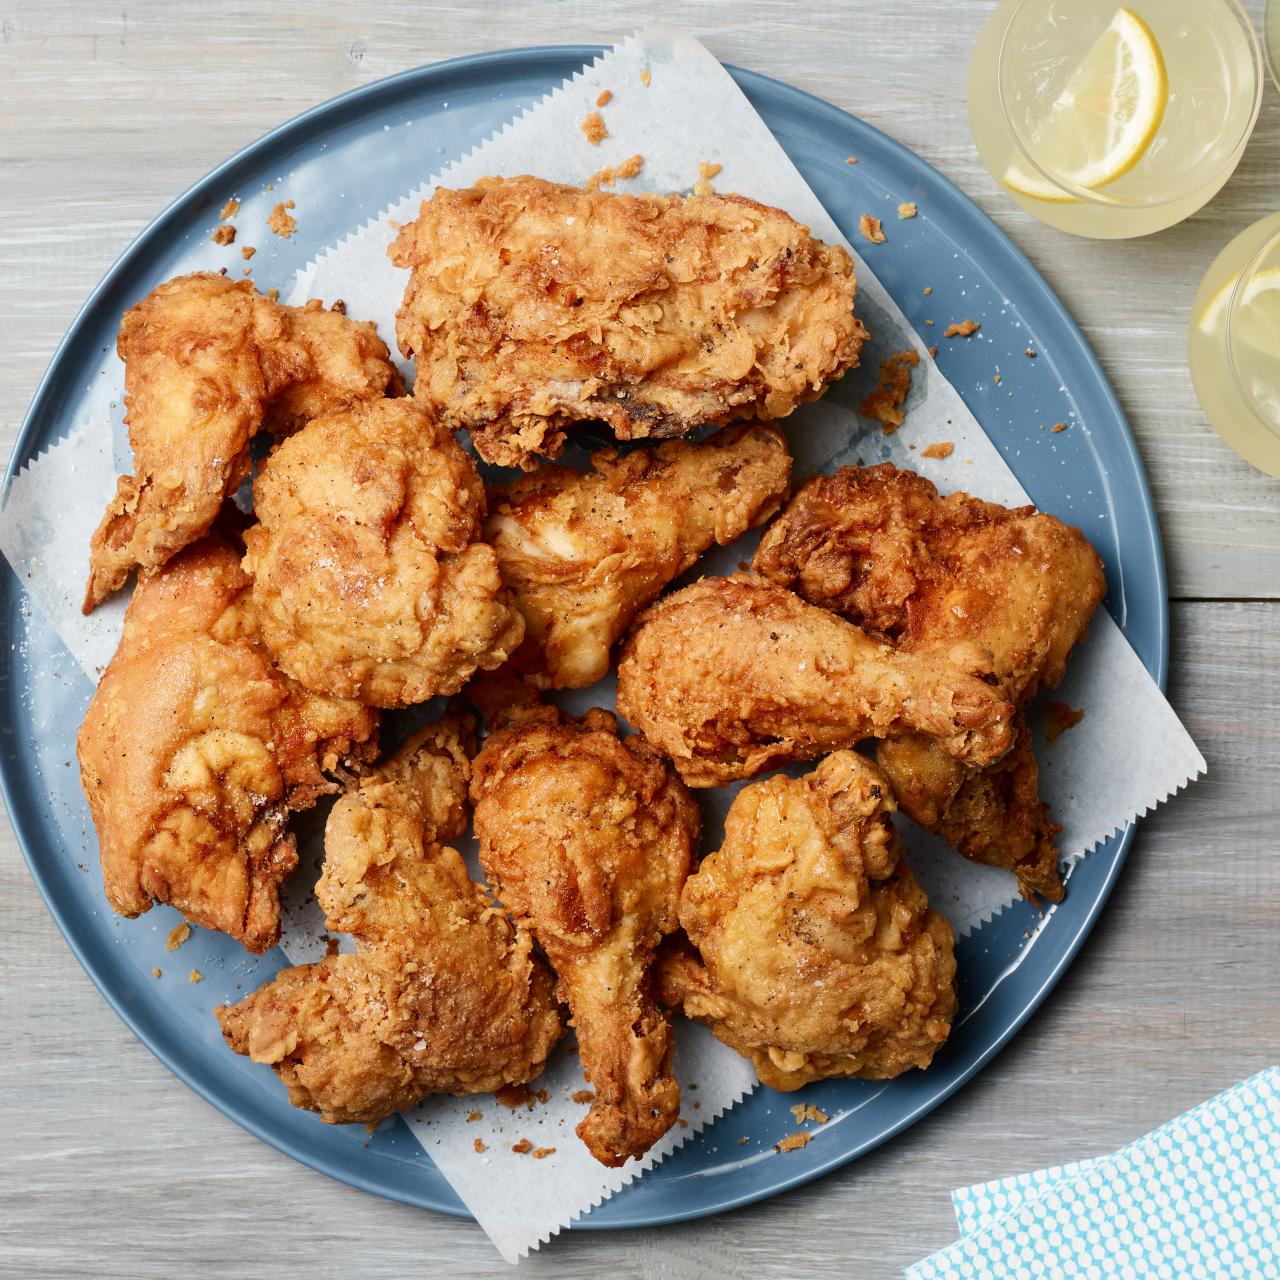
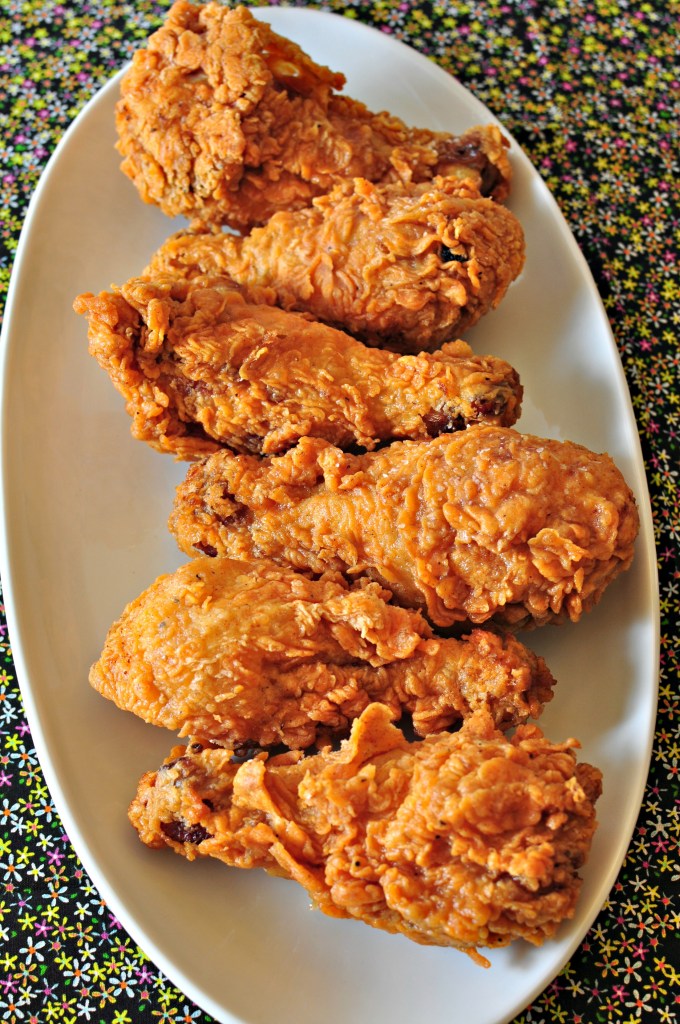
Serving and Enjoying Crispy Fried Chicken
Presentation Matters
Plating: Arrange the fried chicken pieces on a clean serving platter, taking care to space them evenly for an attractive presentation.
Garnishes: Add a pop of color and freshness to the platter with garnishes such as fresh herbs, lemon wedges, or sliced vegetables.
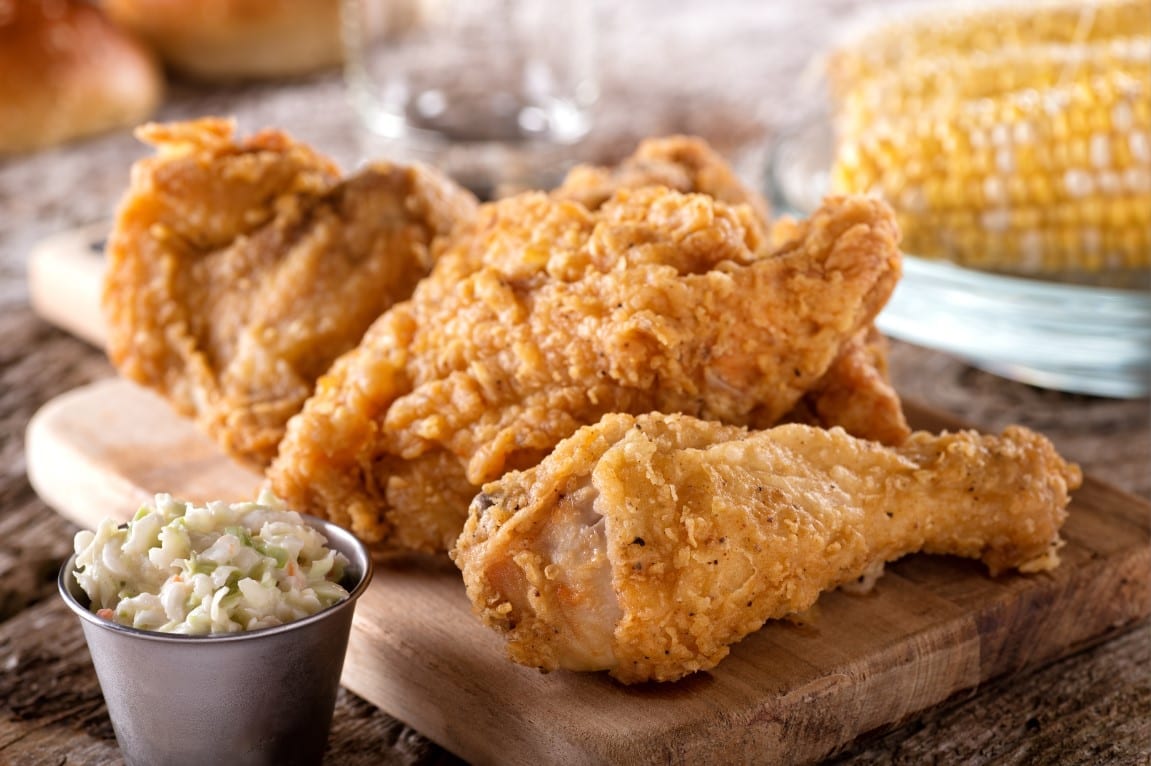
Accompaniments: Serve the fried chicken with complementary side dishes such as coleslaw, mashed potatoes, biscuits, or cornbread to create a balanced and satisfying meal.
Proper Cooling and Resting
Resting Period: Allow the fried chicken to rest for a few minutes after frying before serving. This allows the crust to set and the juices to redistribute, resulting in a more flavorful and tender texture.
Cooling Station: Transfer the fried chicken to a wire rack set over a baking sheet lined with paper towels to drain any excess oil. Avoid placing the chicken directly on paper towels, as this can cause the crust to become soggy.
Enjoyment Techniques
Sensory Experience: Take a moment to appreciate the aroma, texture, and appearance of the crispy fried chicken before digging in.
Texture Contrast: Experience the satisfying crunch of the crispy crust juxtaposed with the juicy and tender meat of the chicken.
Flavor Pairings: Experiment with different dipping sauces or condiments to enhance the flavor profile of the fried chicken. Classic choices include barbecue sauce, honey mustard, ranch dressing, or hot sauce.
Sharing and Socializing
Family Style: Serve the fried chicken family-style, allowing diners to help themselves to their desired portions. This encourages sharing and creates a communal dining experience.
Conversation Starter: Fried chicken has a way of bringing people together and sparking lively conversation. Use this opportunity to connect with friends and family over a delicious meal.
Memorable Moments: Whether enjoyed at a casual backyard barbecue or a special occasion dinner, crispy fried chicken has a way of creating lasting memories and cherished moments with loved ones.
Conclusion
With these expert tips and techniques, you’re well on your way to achieving crispy fried chicken perfection in your own kitchen. From selecting the right chicken pieces to mastering the frying process, each step plays a crucial role in creating that irresistible crunch. So roll up your sleeves, gather your ingredients, and get ready to impress your friends and family with the ultimate comfort food classic. Happy frying!