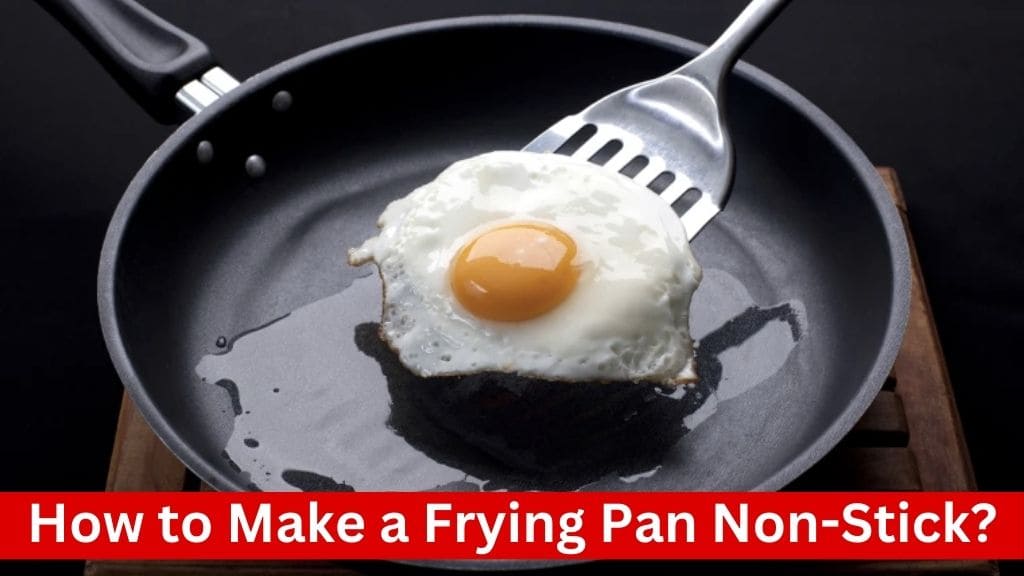
In the realm of cooking, non-stick pans are an absolute game-changer. They make flipping pancakes effortless, sautéing delicate vegetables a breeze, and cleaning up a much simpler task. But what if you could turn any frying pan into a non-stick wonder? Whether you have a classic cast iron skillet or a stainless steel pan, there are several techniques you can employ to achieve that coveted non-stick surface. In this comprehensive guide, we’ll explore various methods and tips to transform your frying pan into a non-stick marvel.
:strip_icc()/Why-You-Should-Not-Use-Metal-Utensils-in-Nonstick-Pans-1347577327-7019351d4fbb4210ac11b774eaec389a.jpg)
Before diving into the techniques to make your frying pan non-stick, let’s briefly discuss what non-stick coating entails. Traditional non-stick pans feature a layer of polytetrafluoroethylene (PTFE), commonly known as Teflon, which prevents food from sticking to the surface. However, over time, this coating can degrade and scratch, diminishing its non-stick properties. Alternatively, seasoning a pan involves creating a natural non-stick surface through the application of oil and heat, resulting in a slick, durable coating.
Preparing Your Pan
1. Cleaning:
Cleaning your pan thoroughly is the first step in preparing it for seasoning. Regardless of whether your pan is brand new or has been used before, proper cleaning is essential to remove any contaminants or residues that may interfere with the seasoning process. Here’s how to clean your pan effectively:
- For New Pans: If you’ve just purchased a new frying pan, it’s essential to wash it with warm, soapy water. This helps remove any manufacturing residues, dust, or debris that may be present on the surface.
- For Used Pans: If your pan has been previously used, it’s likely to have accumulated food residue and grease buildup. In this case, use a sponge and mild dish soap to scrub the pan’s surface gently. Pay particular attention to areas where food tends to stick, such as the cooking surface and edges.
After cleaning, rinse the pan thoroughly with water to remove any soap residue. Finally, dry the pan completely with a clean towel to prevent water spots and ensure that the seasoning process can proceed effectively.
2. Choosing the Right Oil:
Selecting the appropriate oil is another crucial aspect of preparing your pan for seasoning. The oil you choose will play a significant role in creating the non-stick coating on the pan’s surface. Here are some factors to consider when choosing the right oil:
- High Smoke Point: Opt for oils with high smoke points, such as coconut oil, olive oil, or vegetable oil. Oils with higher smoke points can withstand the heat required for seasoning without burning or developing off-flavors.
- Neutral Flavor: Choose oils with neutral flavors to avoid imparting unwanted tastes to your food. Neutral-flavored oils allow the natural flavors of your ingredients to shine through without interference.
- Availability: Use oils that are readily available in your kitchen or local grocery store. This ensures convenience and accessibility during the seasoning process.
Seasoning Techniques
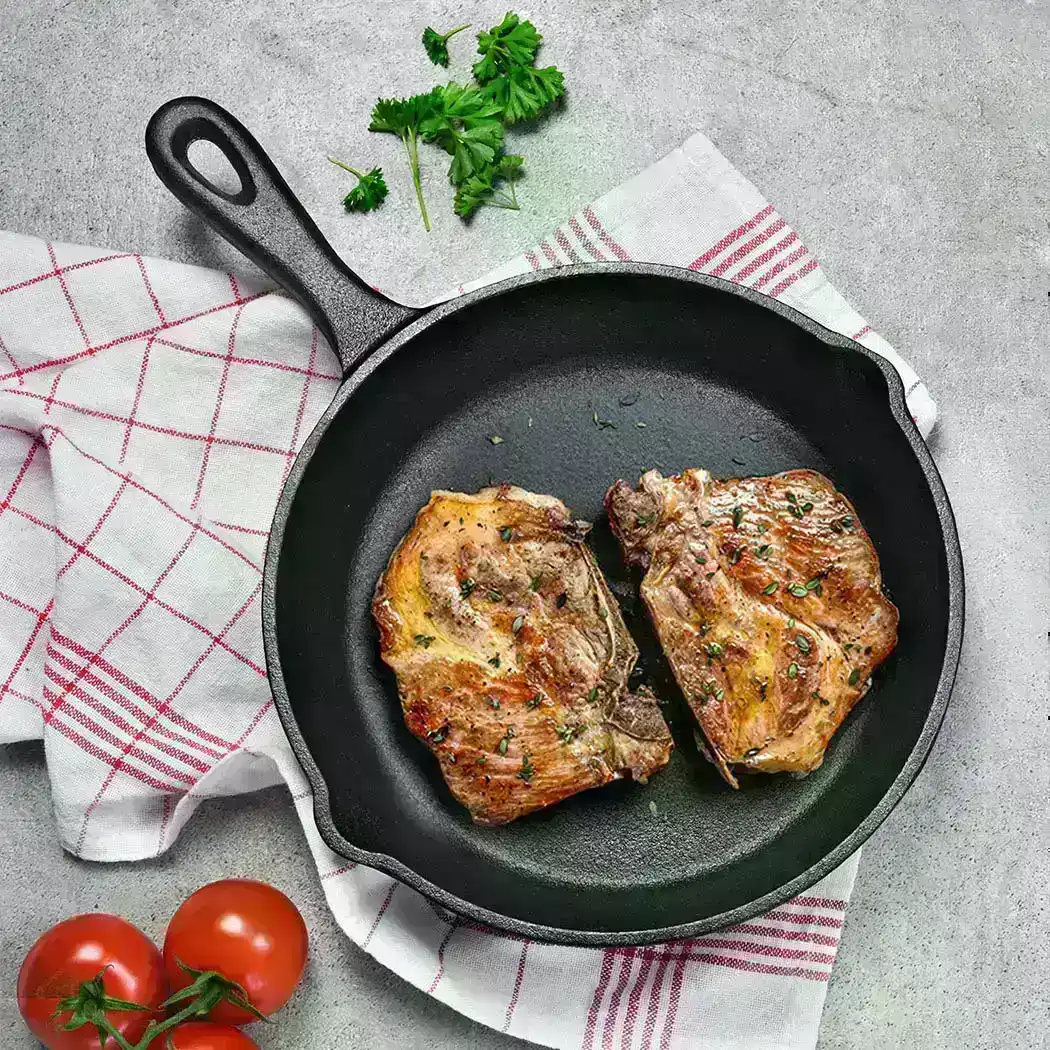
Method 1: Oven Seasoning (For Cast Iron Pans)
:max_bytes(150000):strip_icc()/faw-cast-iron-skillet-test-lodge-pre-seasoned-10-1-4-diameter-rkilgore-5-05-e250893fa56d4c8e9ceda1dc445044f6.jpg)
1. Preheating the Oven:
Before beginning the seasoning process, preheat your oven to the recommended temperature. For cast iron pans, a temperature of around 180 degrees Celsius (350 degrees Fahrenheit) or gas mark 4 is typically ideal. It’s essential to ensure that the oven is fully preheated before placing the pan inside to facilitate even heating and consistent results.
2. Applying Oil:
Once the oven is preheated, it’s time to apply the oil to the cast iron pan. Choose a high-quality oil with a high smoke point, such as coconut oil or vegetable oil. Using a paper towel or clean cloth, apply a thin layer of oil to the entire surface of the pan, including the cooking surface and sides. Be sure to coat the pan evenly, ensuring that no areas are left uncoated.
3. Baking Process:
With the oil applied, it’s time to place the pan in the preheated oven for the initial baking process. Position the pan upside-down on the oven rack to allow any excess oil to drip off during baking. Bake the pan for approximately 45 minutes, allowing the oil to polymerize and form a protective layer on the pan’s surface.
After the initial baking period, remove the pan from the oven and apply another thin layer of oil to the surface. This additional layer helps build up the non-stick coating and enhances the pan’s durability. Return the pan to the oven and bake for an additional 30 minutes.
4. Repeat the Process:
To achieve optimal results, it’s often necessary to repeat the oiling and baking process multiple times. Depending on the condition of your pan and the desired level of seasoning, you may need to repeat the process two to three times or more. Each successive layer of oil adds to the thickness and durability of the non-stick coating, resulting in a smoother and more effective surface.
5. Visual Cues:
Throughout the seasoning process, pay attention to visual cues that indicate the progress of the seasoning. As the oil polymerizes and forms a protective layer, you may notice the pan’s surface becoming darker and shinier. This transformation is a sign that the seasoning is progressing effectively, and the pan is developing its non-stick properties.
Method 2: Stovetop Seasoning (For Non-Cast Iron Pans)
1. Coating the Pan:
To begin the stovetop seasoning process, apply a thin layer of oil to the interior surface of the pan. Choose an oil with a high smoke point, such as coconut oil or vegetable oil, to withstand the heat of the stovetop without burning. Use a paper towel or clean cloth to spread the oil evenly across the pan’s surface, ensuring complete coverage.
2. Heating on the Stovetop:
Once the pan is coated with oil, place it on the stovetop over medium-high heat. Allow the pan to heat gradually, allowing the oil to distribute evenly and begin to smoke slightly. Heating the oil on the stovetop helps it penetrate the surface of the pan and create a non-stick coating.
Monitor the heating process closely to prevent the oil from burning or smoking excessively. Adjust the heat as needed to maintain a moderate temperature and ensure even heating across the pan’s surface.
3. Repeating the Process:
After heating the pan on the stovetop for several minutes, turn off the heat and allow the pan to cool completely. Once cooled, assess the pan’s surface to determine if it has achieved the desired level of non-stickiness. If the pan’s surface is still sticky or prone to food sticking, repeat the oiling and heating process as needed.
Depending on the condition of your pan and the desired level of seasoning, you may need to repeat the stovetop seasoning process multiple times to achieve optimal results. Each successive layer of oil adds to the thickness and durability of the non-stick coating, enhancing the pan’s performance and longevity.
4. Visual Cues:
Throughout the stovetop seasoning process, pay attention to visual cues that indicate the progress of the seasoning. As the oil heats and penetrates the pan’s surface, you may notice changes in the color and texture of the pan. A properly seasoned pan will develop a smooth, shiny surface that repels food and prevents sticking.
Method 3: Salt Seasoning
1. Application of Salt:
Begin by spreading a layer of table salt evenly across the surface of the frying pan. Use enough salt to cover the entire cooking area, ensuring that all parts of the pan’s surface are adequately coated. The salt acts as an abrasive agent, helping to remove any stubborn food residue and prepare the pan for seasoning.
2. Heating the Pan:
Once the salt is applied, place the pan on the stovetop over medium heat. Allow the pan to heat gradually, allowing the salt to brown and adhere to the surface of the pan. As the salt heats, it helps to loosen any food particles and create a smooth, non-stick coating on the pan’s surface.
Monitor the heating process closely to prevent the salt from burning or smoking excessively. Stir the salt occasionally to ensure even heating and distribution across the pan’s surface.
3. Removing the Salt:
After the salt has heated sufficiently and begun to brown, carefully remove the pan from the heat source. Use tongs or a heatproof utensil to remove the hot salt from the pan, taking care to avoid contact with your skin. Once the salt has been removed, use a clean cloth or paper towel to wipe the pan’s surface and remove any remaining residue.
4. Assessing the Surface:
After salt seasoning, assess the surface of the pan to determine if it has achieved the desired level of non-stickiness. A properly seasoned pan will have a smooth, reflective surface that repels food and prevents sticking. If the pan’s surface is still sticky or prone to food sticking, you may need to repeat the salt seasoning process or try an alternative seasoning method.
5. Maintenance and Care:
To maintain the non-stick properties of your pan, avoid washing it with harsh detergents or abrasive sponges. Instead, wipe the pan clean with a paper towel or soft cloth after each use to preserve the seasoning. If washing is necessary, use warm water and a mild detergent, then re-season the pan as needed to restore its non-stick coating.
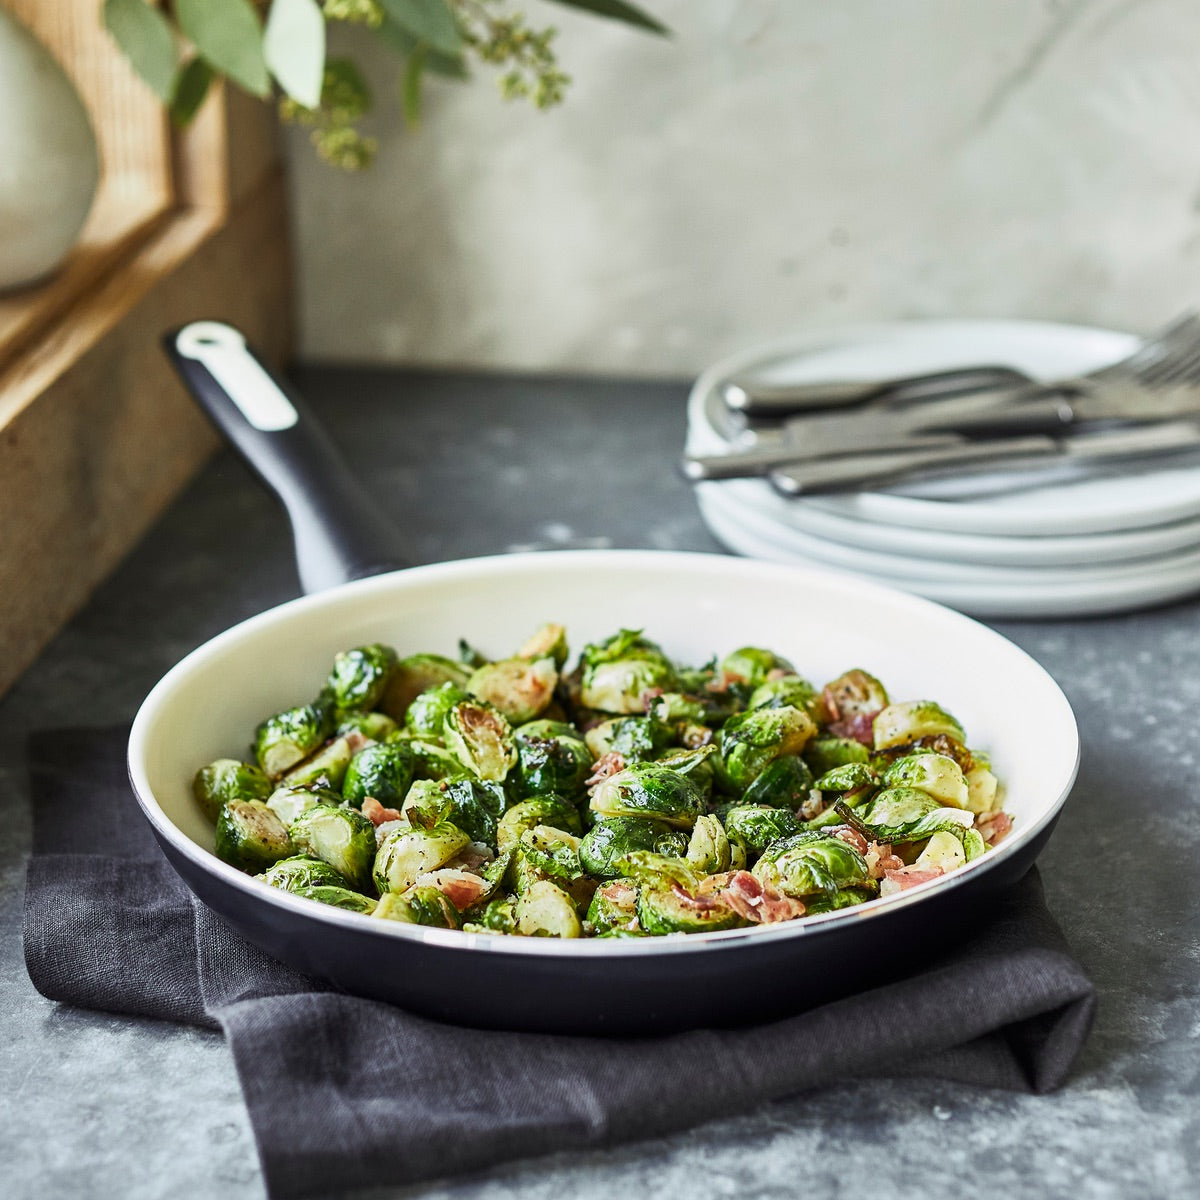
Method 4: Combination of Salt and Oil
:max_bytes(150000):strip_icc()/faw-product-caraway-cookware-set-jkim-0016-01307cdc102d40f0875729754de0fc61.jpeg)
1. Mixing Salt and Oil:
Start by combining a high-melting oil, such as sunflower oil or vegetable oil, with an equal amount of table salt directly in the frying pan. The salt serves as an abrasive agent, while the oil provides a protective layer that helps prevent sticking and promotes seasoning. Use enough oil and salt to cover the entire cooking surface of the pan, ensuring thorough coverage.
2. Heating the Mixture:
Once the oil and salt mixture is combined in the pan, place it on the stovetop over medium heat. Allow the mixture to heat gradually, allowing the salt to dissolve and the oil to reach its smoking point. As the mixture heats, the salt helps to scrub away any residual food particles and create a smooth, non-stick surface on the pan.
Monitor the heating process closely to prevent the oil from burning or smoking excessively. Stir the mixture occasionally to ensure even heating and distribution across the pan’s surface.
3. Wiping the Surface:
After the mixture has heated sufficiently and begun to smoke, carefully remove any excess oil from the pan’s surface using a paper towel or clean cloth. Wipe the pan’s surface thoroughly to remove any remaining residue and ensure a smooth, non-stick finish. Take care to avoid contact with the hot pan to prevent burns.
4. Assessing the Surface:
Once the pan has been seasoned with the salt and oil mixture, assess the surface to determine if it has achieved the desired level of non-stickiness. A properly seasoned pan will have a smooth, reflective surface that repels food and prevents sticking. If the pan’s surface is still sticky or prone to food sticking, you may need to repeat the seasoning process or try an alternative method.
5. Maintenance and Care:
To maintain the non-stick properties of your pan, avoid washing it with harsh detergents or abrasive sponges. Instead, wipe the pan clean with a paper towel or soft cloth after each use to preserve the seasoning. If washing is necessary, use warm water and a mild detergent, then re-season the pan as needed to restore its non-stick coating.
Maintenance and Care
1. Avoiding Harsh Detergents and Abrasive Materials:
When cleaning your non-stick frying pan, avoid using harsh detergents, abrasive sponges, or steel wool pads. These materials can strip away the seasoning and damage the pan’s surface, compromising its non-stick properties. Instead, opt for mild dish soap and a soft sponge or cloth to gently clean the pan after each use.
2. Wiping Clean After Each Use:
After cooking, wipe the pan clean with a paper towel or soft cloth to remove any food residue or grease. This helps prevent the buildup of debris and maintains the non-stick coating on the pan’s surface. Avoid leaving food to cool and harden on the pan, as this can make cleaning more challenging and lead to damage over time.
3. Gentle Washing When Necessary:
If thorough cleaning is required, wash the pan with warm water and a mild detergent using a soft sponge or cloth. Avoid soaking the pan for extended periods or using excessive force when scrubbing, as this can damage the seasoning. Rinse the pan thoroughly with water and dry it immediately with a clean towel to prevent water spots and preserve the non-stick coating.
4. Using the Right Utensils:
Choose utensils made of silicone, wood, or plastic when cooking with non-stick frying pans. Metal utensils can scratch the pan’s surface and compromise its non-stick properties. Avoid using sharp or abrasive utensils that can cause damage, and opt for gentle tools that won’t scratch or scrape the pan.
5. Proper Storage Techniques:
Store your non-stick frying pans carefully to avoid damaging the seasoning and surface. Stack pans with a protective layer, such as a paper towel or cloth, between each pan to prevent scratching. Avoid stacking heavy items on top of non-stick pans and store them in a dry, cool place away from direct heat sources.
6. Regular Seasoning Maintenance:
Periodically re-season your non-stick frying pans to maintain their non-stick properties and enhance their performance. If you notice signs of wear or food starting to stick, repeat the seasoning process using one of the methods outlined earlier. This helps refresh the non-stick coating and prolongs the lifespan of your pans.
Conclusion
With the techniques outlined in this guide, you can transform any frying pan into a non-stick powerhouse. Whether you prefer the rustic charm of a cast iron skillet or the sleek design of a stainless steel pan, proper seasoning can elevate your cooking experience to new heights. By following these methods and incorporating regular maintenance into your cooking routine, you’ll enjoy the benefits of non-stick cooking for years to come. Happy seasoning!