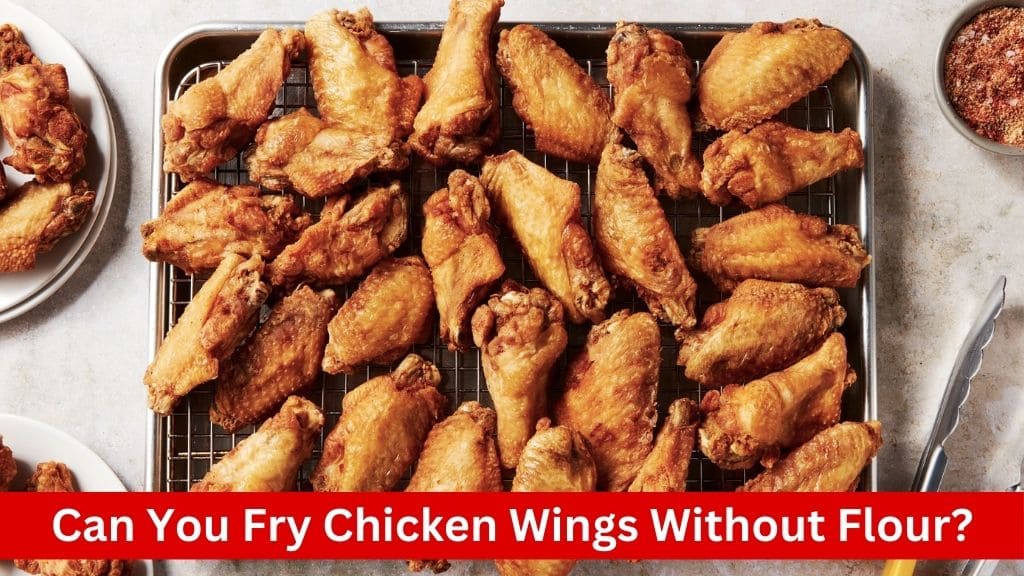
In the realm of culinary experimentation, the quest for crispy, succulent chicken wings knows no bounds. But what if you’re on a gluten-free diet or simply seeking a lighter alternative to the traditional flour-coated wings? Fear not, for there’s a solution: frying chicken wings without flour. In this comprehensive guide, we’ll delve into the art of achieving crispy perfection sans flour, exploring ingredients, techniques, and tantalizing flavor profiles.
Understanding Flourless Frying
Introduction to Flourless Frying
Flourless frying opens doors to a world of culinary possibilities for those seeking gluten-free options or lighter fare. By omitting flour from the frying process, we can create wings that are just as crispy and flavorful, if not more so, than their flour-coated counterparts.
Benefits of Flourless Frying
- Gluten-Free: Ideal for individuals with gluten sensitivities or those adhering to a gluten-free diet.
- Lighter Option: Reduces the caloric content compared to traditional flour-coated wings.
- Enhanced Flavor: Allows the natural flavors of the chicken and seasonings to shine through without the interference of flour.
Flourless Fried Chicken Wings Recipe

Ingredients
- Chicken wings
- Vegetable oil
- Salt
- Pepper
- Paprika
- Garlic powder
- Onion powder
- Dried herbs (optional)
Instructions
- Prepare the Chicken Wings: Start by thoroughly patting dry the chicken wings with paper towels. Removing excess moisture is crucial as it helps in achieving the desired crispiness. Ensure each wing is dry before proceeding to the next step.
- Generously Season the Wings: In a bowl, combine salt, pepper, paprika, garlic powder, onion powder, and any desired dried herbs such as thyme or oregano. Mix the seasonings well. Then, evenly coat each chicken wing with the seasoning mixture. Be generous with the seasoning to ensure robust flavor in every bite. Allow the wings to marinate in the seasoning for at least 30 minutes. This marination period enhances the flavor profile of the wings, resulting in a more delicious outcome.
- Heat the Oil: In a deep skillet or Dutch oven, pour enough vegetable oil to cover the chicken wings. Heat the oil over medium-high heat until it reaches a temperature of around 375°F (190°C). It’s essential to use a candy thermometer to monitor the oil temperature accurately. Maintaining the correct oil temperature is crucial for achieving crispy wings.
- Fry the Wings: Carefully place the seasoned chicken wings into the hot oil, ensuring not to overcrowd the skillet. Depending on the size of your skillet, you may need to fry the wings in batches to ensure even cooking. Allow the wings to fry undisturbed for about 8-10 minutes per side or until they turn golden brown and crispy. Using tongs, flip the wings halfway through the cooking process to ensure both sides are evenly cooked and browned.
- Drain and Serve: Once the wings are cooked to perfection, carefully remove them from the oil using tongs or a slotted spoon. Transfer the fried wings to a wire rack set over a baking sheet or a plate lined with paper towels. This allows any excess oil to drain off, preventing the wings from becoming greasy. Serve the hot and crispy chicken wings immediately with your favorite dipping sauce or enjoy them as is.
Tips and Alternatives

Alternative Coatings
- Cornstarch: Substitute flour with cornstarch for a gluten-free option that still yields a crispy texture. Simply coat the chicken wings in cornstarch before frying.
- Potato Starch: Another gluten-free alternative, potato starch creates a light and crunchy coating on chicken wings. Dip the wings in potato starch before frying for a deliciously crispy result.
- Rice Flour: For a lighter coating, use rice flour instead of traditional flour. Rice flour adds a delicate crispiness to the wings and is suitable for those with gluten sensitivities.
- Breadcrumbs: While not gluten-free, breadcrumbs can be used as an alternative to flour for coating chicken wings. Choose gluten-free breadcrumbs if needed and season them with herbs and spices for extra flavor.
Seasoning Ideas
- Dry Rub: Create a flavorful dry rub using a combination of spices such as garlic powder, onion powder, paprika, cayenne pepper, salt, and black pepper. Rub the seasoning mixture onto the chicken wings before frying for a burst of flavor.
- Marinade: Enhance the taste of the wings by marinating them in a mixture of your favorite herbs, spices, and a bit of oil or vinegar. Allow the wings to marinate for at least 30 minutes to infuse them with flavor before frying.
Achieving Crispy Texture
- Proper Oil Temperature: Ensure the oil is heated to the correct temperature (around 375°F or 190°C) before adding the chicken wings. Maintaining the right oil temperature is essential for achieving crispy, golden-brown wings.
- Undisturbed Frying: Resist the urge to constantly flip or move the chicken wings while frying. Allowing them to cook undisturbed for a few minutes on each side helps develop a crispy exterior.
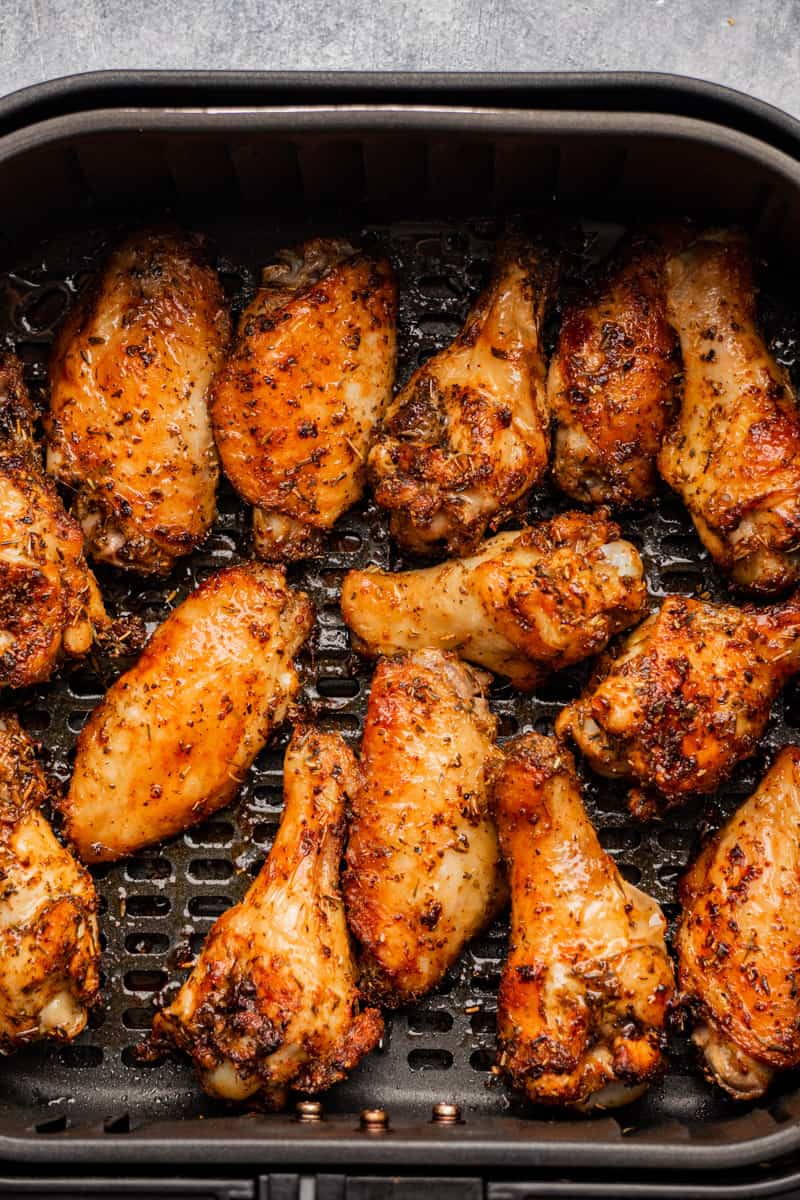
Using an Air Fryer
- Healthier Option: Opt for an air fryer to make flourless chicken wings with less oil. Air frying results in crispy wings with a fraction of the oil compared to traditional frying methods.
- Coating Options: Coat the
Conclusion
Frying chicken wings without flour opens up a world of culinary creativity and caters to various dietary preferences. By following simple techniques and experimenting with alternative coatings and seasonings, you can enjoy crispy, flavorful wings without the need for flour. Whether you’re gluten-free, health-conscious, or simply craving a delicious snack, flourless fried chicken wings are sure to satisfy your appetite. So, the next time you’re in the mood for wings, embrace the flour-free approach and elevate your culinary experience!